Ginger Snickerdoodles with White Chocolate

I made these for that same New Year's Eve party, and they were a big hit, particularly with Gui, who isn't a huge fan of desserts normally. They are super soft and pillowy like you'd expect of a snickerdoodle, but then they have that ginger snap taste and big chunks of soft white chocolate. Yummmmmmm!

snickerdoodles_1.jpg

Speaking of New Year's, I'm still working on getting my resolutions together. But I'm set on doing monthly "themes" and ideally developing those into habits that I carry into the future. My January theme is "Strengthen Friendships." I have a tendency to be a bit of a recluse, and even though I text my friends, I'll go months without seeing them. Then I get in a bad mood and I wonder why! 

Ingredients

2 cups flour

1 tbsp cornstarch

2 tsp baking soda

3 tsp cinnamon, divided

1/2 tsp salt

1 tsp freshly grated ginger

3/4 cup (1.5 sticks) butter, softened

Directions


3/4 cup light brown sugar

1/2 cup granulated sugar, divided

1/4 cup maple syrup

1 large egg

2 tsp vanilla extract

3/4 cup white chocolate chips

1. Preheat oven to 350°F

2. In a medium sized bowl, whisk together dry ingredients: 2 c flour, 1 tbsp cornstarch, 2 tsp baking soda, 2 tsp cinnamon, 1/2 tsp salt, and 1 tsp ginger.

3. In a small bowl, combine 1/4 c granulated sugar and remaining 1 tsp cinnamon. 

4. In a large bowl, cream together 3/4 c butter, 3/4 c brown sugar, and leftover 1/4 cup granulated sugar. Add in the syrup, egg and vanilla extract, and mix.

5. Slowly add dry ingredients to wet ingredients, and mix until combined. Add in white chocolate chips and mix. 

6. Roll dough into 1-inch balls and coat in cinnamon sugar mixture that's in your small bowl. 

7. Bake for 7-9 minutes, until the bottoms are just brown. As soon as cookies are out of the oven, sprinkle the tops of cookies with leftover cinnamon sugar mixture.

Cranberry Orange Shortbread with Dark Orange Chocolate

I made these cookies for a New Year's Eve party. I wanted something festive and holiday feeling. I've always wanted an excuse to use edible gold dust, and this felt like the right time! These cookies give you all the buttery goodness of my traditional shortbread, with that sweet/tart orange/cranberry combo, anddddd the rich dark chocolate! They are also really fun to make! 

shortbread_1.jpg

The cookies end up looking really beautiful too! I did half the cookies with the right half dipped, and the other with the left so they would look really pretty either stacked or laying on the plate! 

Ingredients

2/3 cup sugar

2 Tbsp fresh orange zest, divided

3/4 cup room temperature butter

1/8 tsp salt

1 1/2 cups flour


1/2 cup dried cranberries, chopped

5 oz. dark chocolate

edible gold dust (optional)

1-2 tsp vegetable shortening

1. Use a food processor to combine the 2/3 c sugar and 1 Tbsp of the orange zest to create orange-sugar. 

2. In a large bowl, beat 3/4 cup butter, the orange-sugar, and salt. 

3. Gradually incorporate 1 1/2 cups flour to the wet mixture.

4. Mix in the 1/2 cup chopped dried cranberries. 

5. Form the dough into a ball and wrap in plastic wrap. Chill in refrigerator for 30 minutes. 

6 Roll out the chilled dough to 1/4 inch thick on a lightly floured surface. Use a cookie cutter to create desired shapes. 

7. Chill on a cookie sheet for 20 more minutes in the refrigerator.

8. Preheat 350°F

9. Bake cookies for 7-10 minutes, rotating pans halfway through, or until the edges are golden brown. 

10. Once the cookies have cooled, use a double boiler to melt the 5 oz. dark chocolate. Add the orange zest and the vegetable shortening to the dark chocolate and stir until smooth. 

11. Dip half the cookie into the melted chocolate, and transfer it to wax paper to set. Sprinkle on the gold dust, or any other desired topping. 

P.S. I only dipped the front of the cookie so that the chocolate wouldn't be too heavy and overpower it. 

Zion National Park – Hiking The Narrows

Zion was amazing. First of all, driving into the park itself was unreal. It almost felt like we were in Avatar with the floating mountains. And there were all these amazing terraced rocks everywhere. I made my dad pull off on the side of the road so I could climb it. 

There's a lot we didn't get to do that I would like to do next time. For example, Angel's Landing was highly recommended but it was a 4 hour hike that we just didn't have time for. But you could easily spend 2-3 days here if you have that time! 

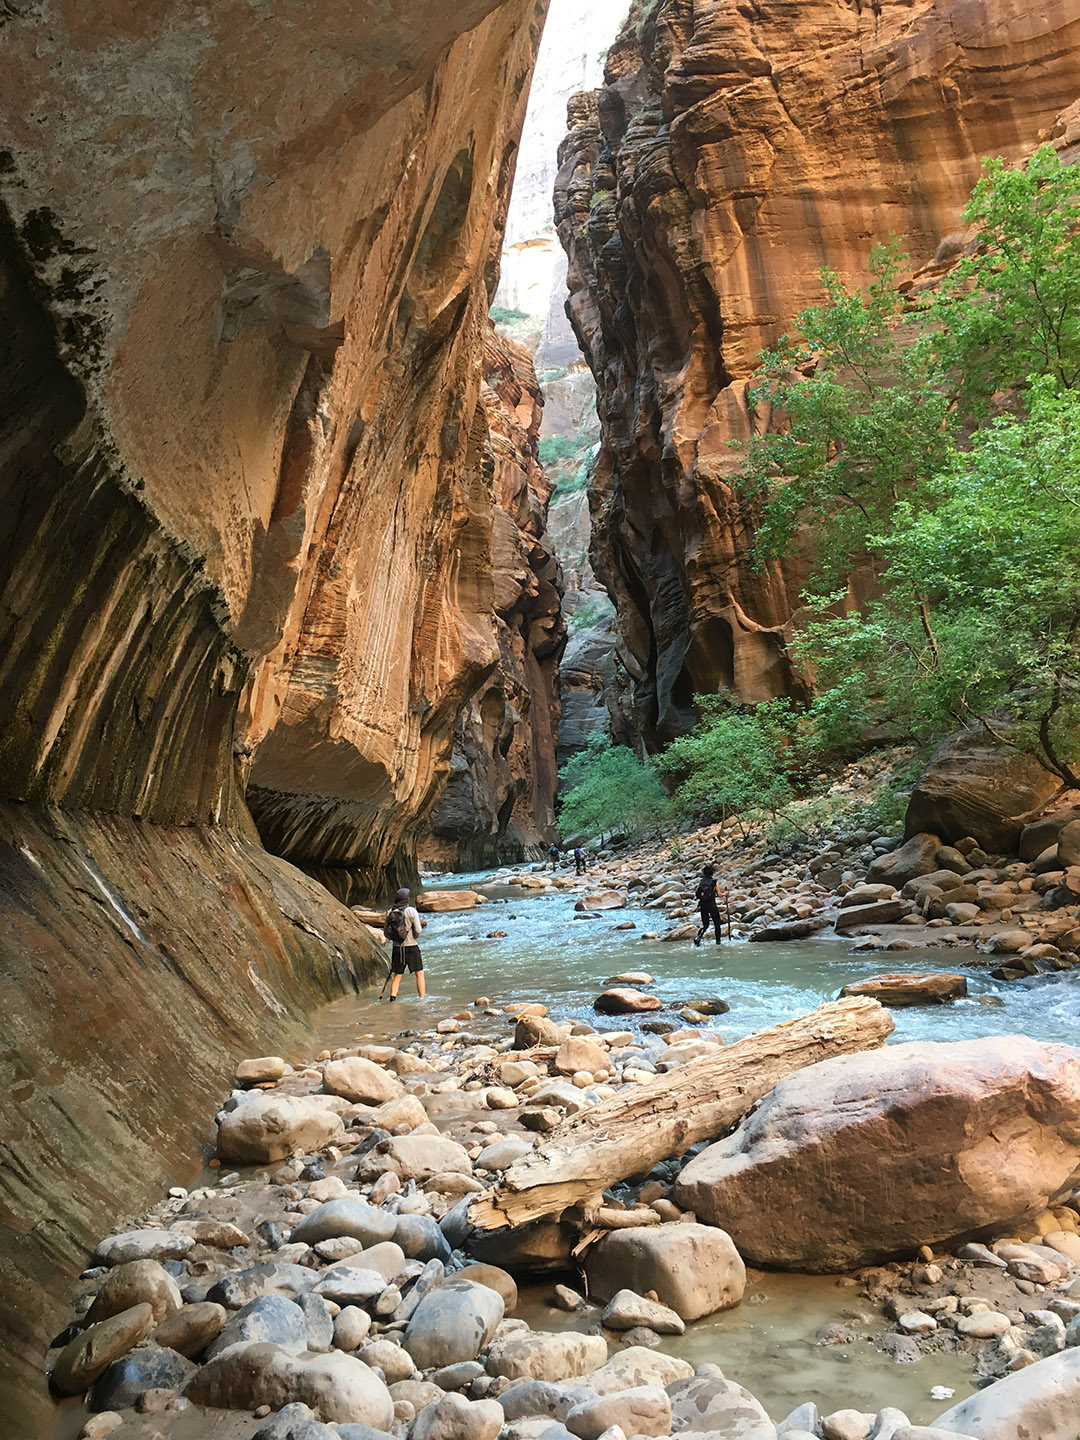
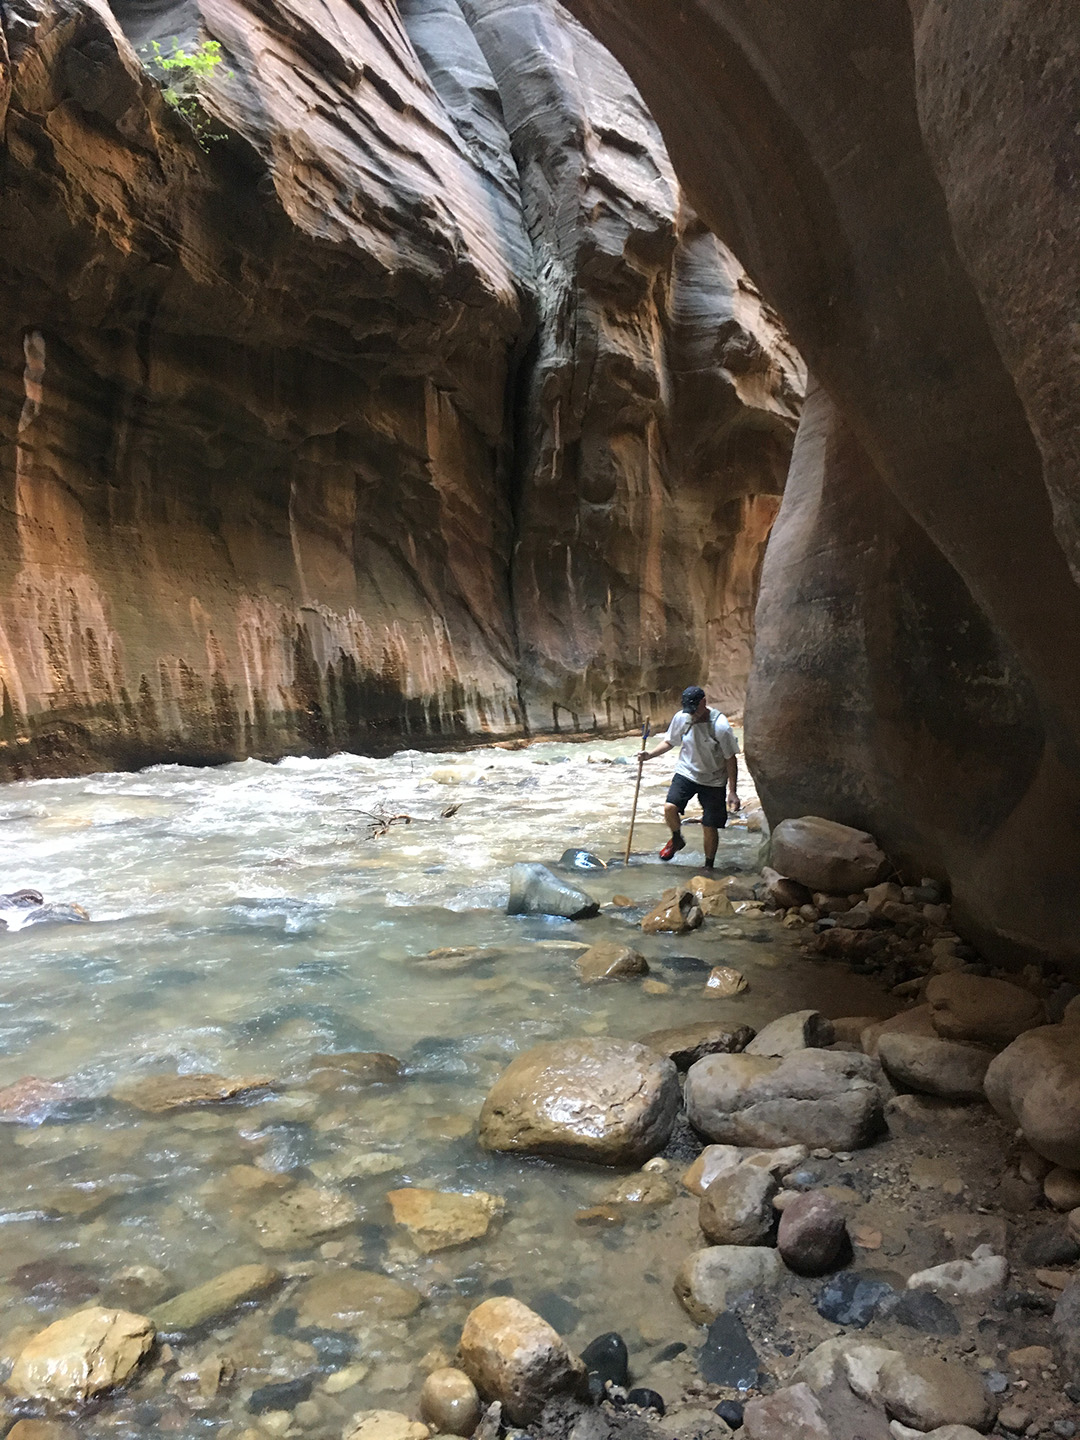
But we spent most of our time hiking The Narrows. The pictures obviously aren't going to do this place justice. Because we were hiking through water, I just took my iPhone in a water-proof case, and not my nicer camera. 

IMG_6207.JPG

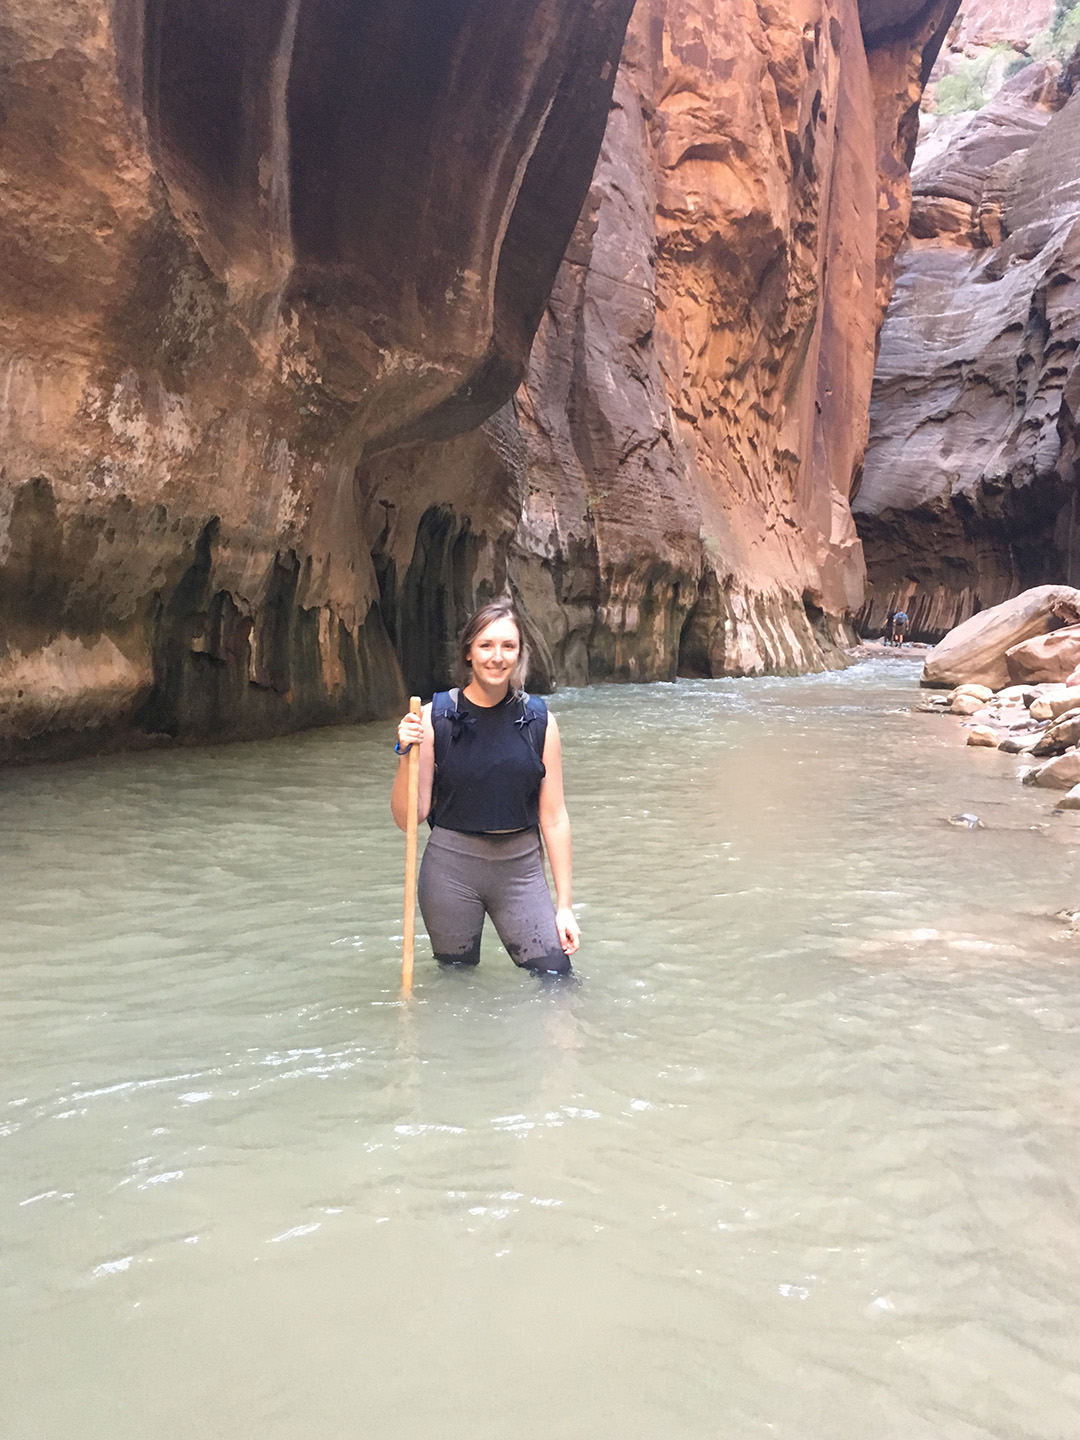
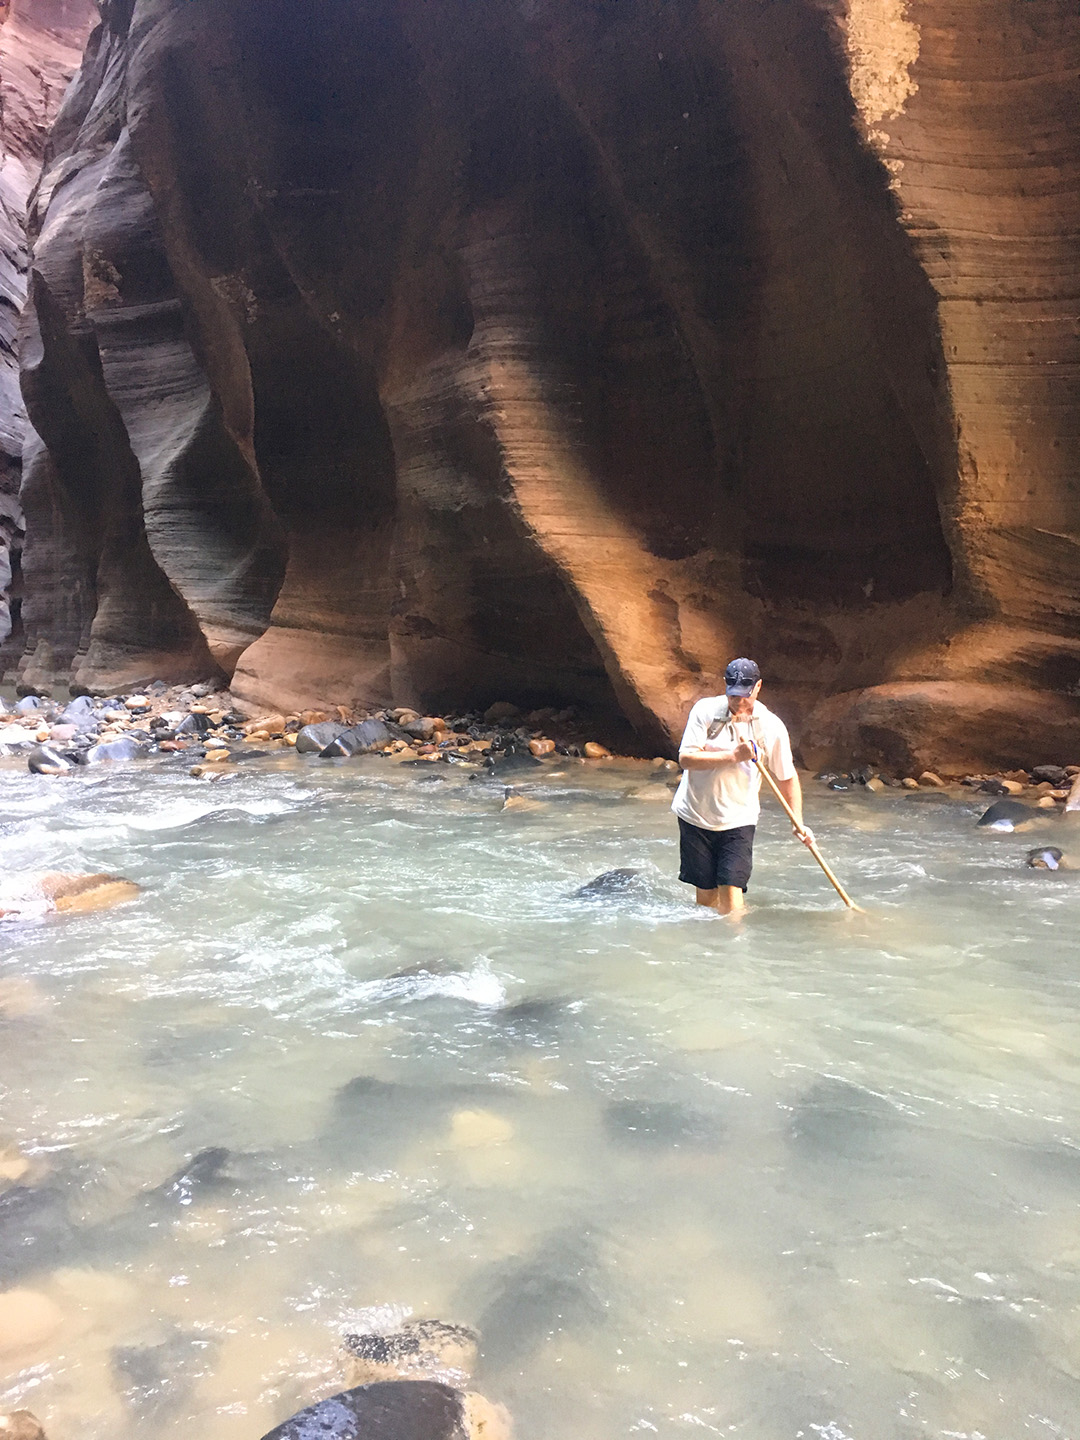
We hiked (and swam) for about 5 hours. It took less time to hike out than it did to hike in because we were going upstream, and we were also stopping a lot to take in our surroundings. Mostly the water was about ankle deep, getting up to your thighs every now and then. And once I hit the 2 hour mark, I did have to swim some parts of the river. 

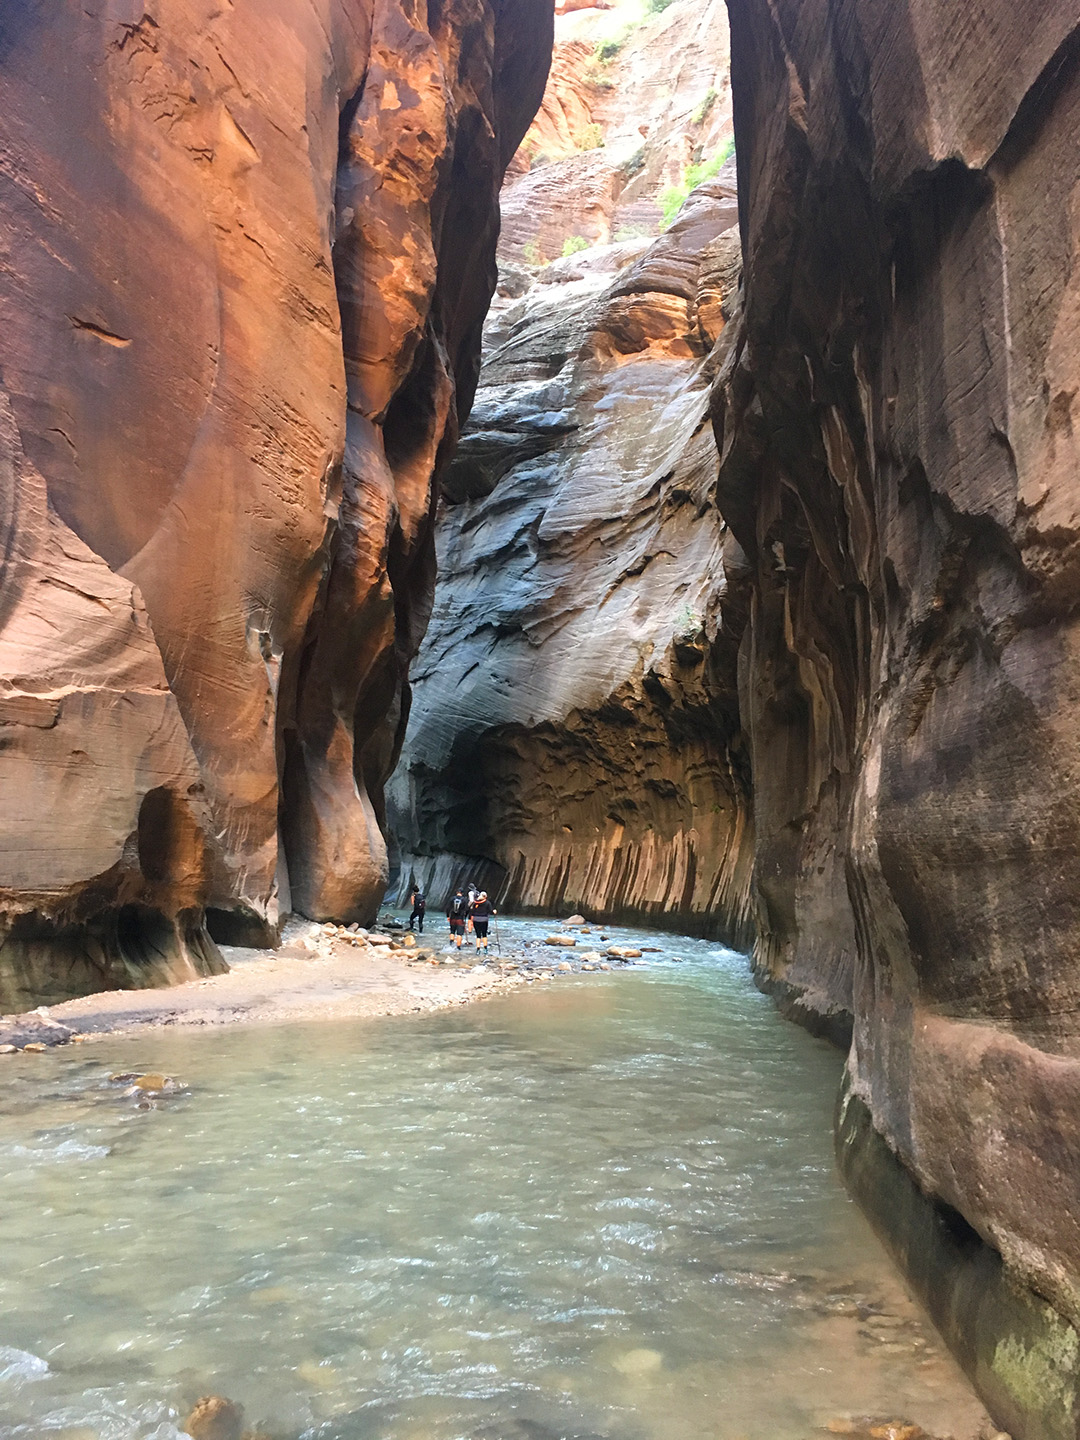
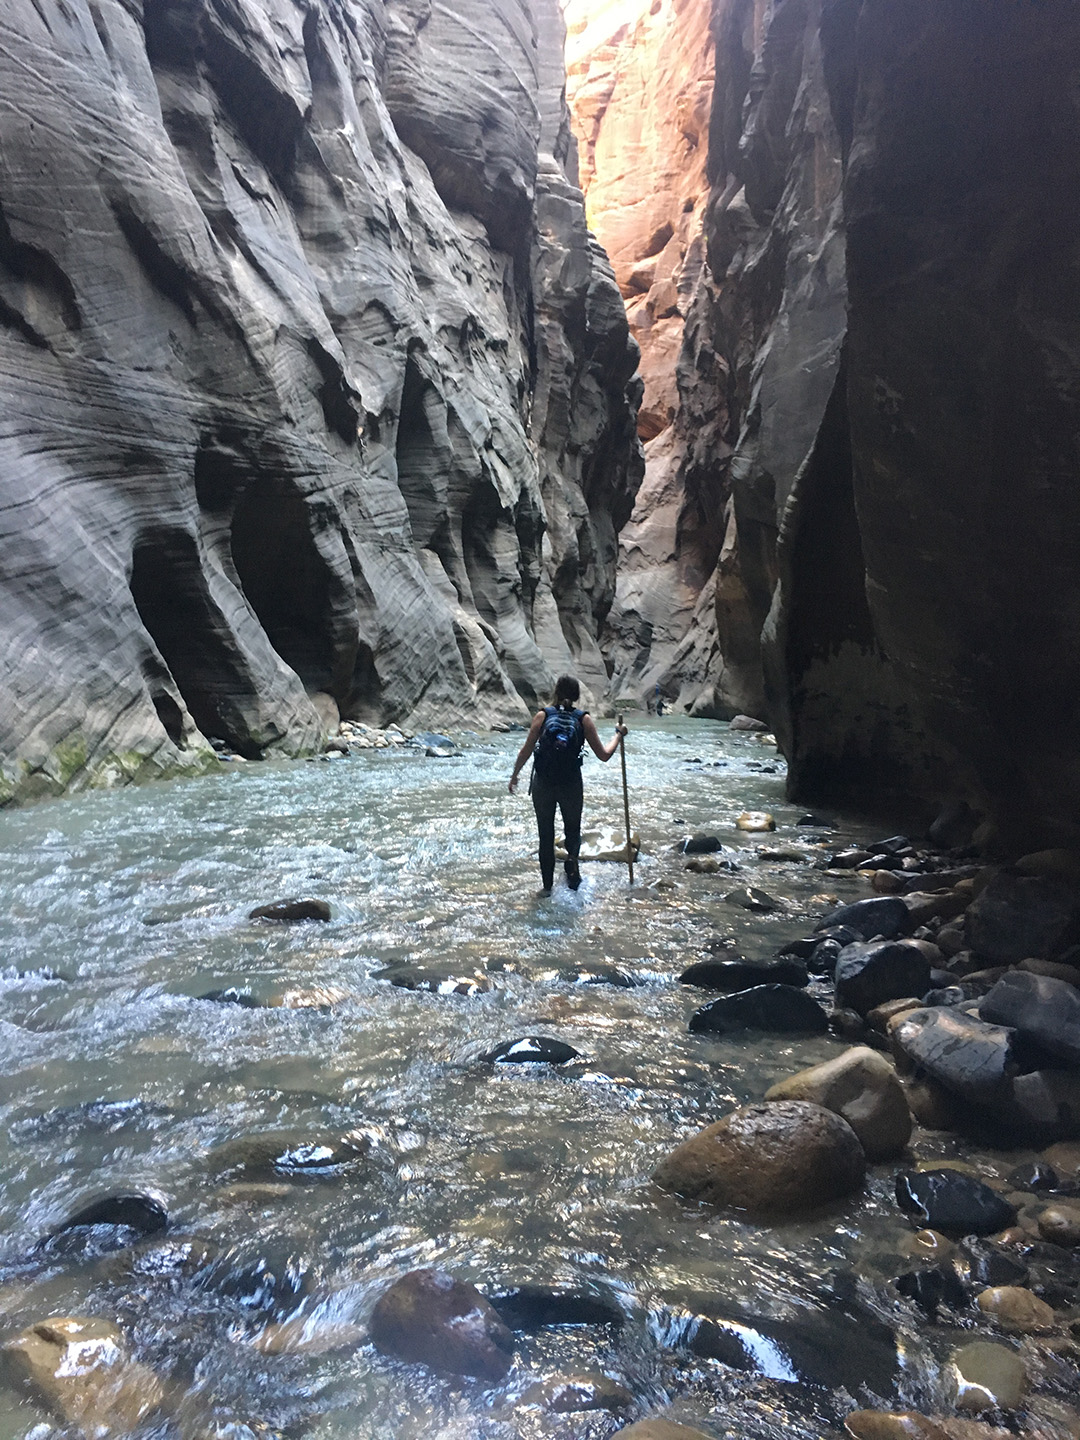
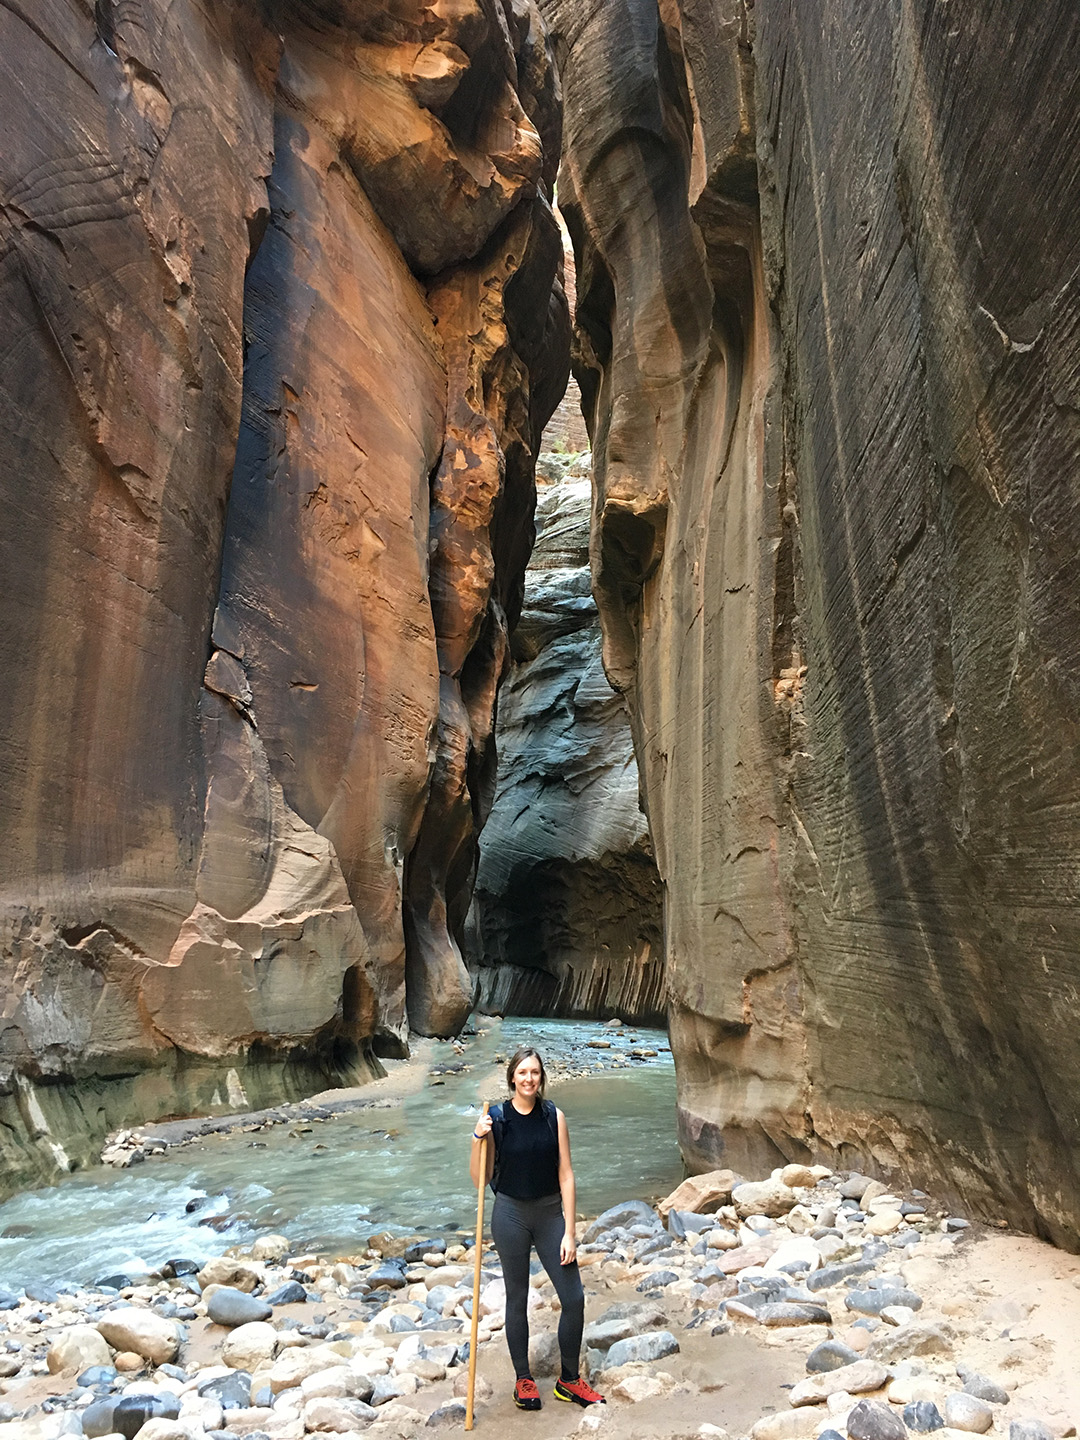
It was just absolutely stunning. The canyon walls are so high, and once you get in about an hour, you'll realize why it's called The Narrows as the walls come in closer and closer. It's an experience I wish I could take all my favorite people on, and definitely one I will return to one day.

Here you can see it starts to narrow significantly. It's really magical. 

IMG_6218.JPG

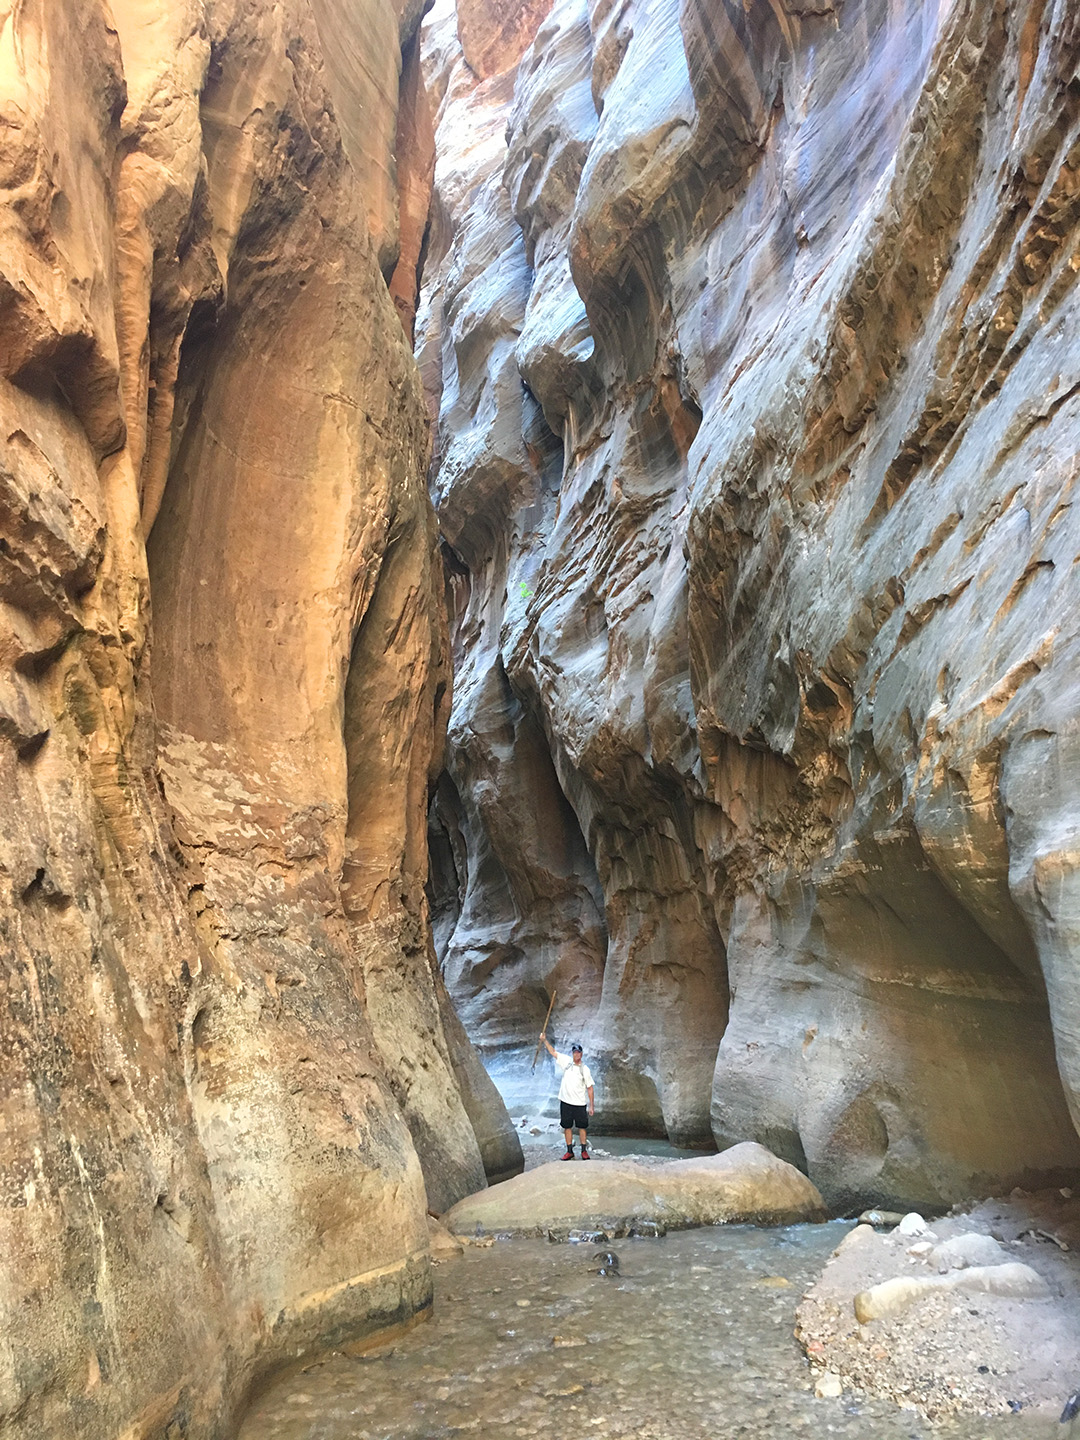
Here's some pictures of us hiking. Scroll right to get a good idea of what you'r up against. It's really not too difficult or treacherous. My dad, who is 69, had a harder time than me and he didn't go as far as I did into the canyons. But you can go in quite a ways before having to swim. And I saw lots of people with children hiking. 

All we had with us was a backpack with snacks, so nothing could really get ruined if we got submerged.

You've got to watch out for the squirrels! This little guy was neck-deep in trail mix before we even realized it! They aren't afraid of humans at all.

You've got to watch out for the squirrels! This little guy was neck-deep in trail mix before we even realized it! They aren't afraid of humans at all.

This was the best ice cream cone I've had in my life. Partly because it was just really tasty, and partly because it really hit the spot after a 5 hour hike.

This was the best ice cream cone I've had in my life. Partly because it was just really tasty, and partly because it really hit the spot after a 5 hour hike.

The Practical Stuff

When to go:
GO IN THE MORNING. Seriously, as soon as the shuttle starts running, you should be on that first shuttle. I think we got into the canyon around 9 (which wasn't even as early as we could have) and we had a great experience, with minimal people. But on our way hiking back out, there were TONS of people, and the experience was not the same. And the paths had also become really muddy and slippery with so many people trekking through. 

How to hike:
You'll definitely want to rent water socks, hiking boots, and a hiking stick...maybe even two sticks. Do NOT skip out on this. I thought I could wear my Chacos and my dad forced me to rent gear from a place in Springfield and he was so right. It's rocky almost the entire way, so you want to be able to put your foot down without fear of hurting your toes. 

You'll likely want to take a light jacket as well, as very little sun gets in and it can be a little chilly in there.

What to expect:
The water is a bit cold, but you get used to it right away, and the water socks help. Depending on how deep the water is in certain areas, your difficulty walking through it will obviously increase. Expect to use those thigh muscles! If you start at the bottom of The Narrows, you'll be walking upstream so that makes it a bit more difficult as well. 

Is it dangerous?
Generally speaking, the rocks are big and rounded off, not jagged. So falling might be annoying, but it's not dangerous. And the water is mostly shallow enough that you wouldn't get swept away. Basically, you'd fall, get wet, and then just get back up. 

There's also a flash flood potential to be aware of. Because the canyon is so long and narrow, it can be clear skies above, but raining a long way away, and cause a flash flood which is obviously very dangerous. You'll want to be aware of weather in surrounding areas, and Zion also has some signs saying how likely flooding is that day. 

How do I get there?
There's a free shuttle service in the Canyon that takes you to all the places you can hike. It's about a 40 minute ride from the visitor center all the way to the entrance of The Narrows, with several stops along the way. Take the shuttle to the very last stop, and then you'll hike about 30 minutes to the base of The Narrows where you can begin!

Alternatively, you can get an adventure company in Springfield to drive you to the top of the Narrows, and you can hike all the way down to the base that the shuttle takes you to. We met one couple who did this, and they said it was about an 8 hour hike. There's no turning back on this one. 

Some random tips
Pack a lunch! This is such a cool experience. The last thing you want to do is turn back for hungers-sake. We packed peanut butter and bread from the hotel and stopped on a rock for lunch. Then we were reinvigorated for more hours of hiking. 

The deeper you go into the canyon, the deeper areas of water you'll experience. I hiked in about 2.5 hours, and near that time mark, I had to swim to get where I was going. But up until then, I had only gotten wet up to my thighs. 

And here's a deer who is also totally nonchalent around humans! 

And here's a deer who is also totally nonchalent around humans! 

Road Trip 2017: Colorado, Utah, Arizona, Nevada

Father-daughter trip 2017. Full disclosure, my dad planned this entire thing. (Honestly I barely weighed in besides "I want to hike a lot.") And because my dad planned it, the trip was 1: meticulously and thoroughly executed, and 2: not my usual super inexpensive trip! We stayed in nice hotels and had nice dinners and gambled in Vegas! I think total for both of us for 7 nights ended up being around $3000.

It was a seriously amazing trip though. I was so inspired by all the beautiful things I saw, and it felt so good to leave the busy/technology-riddled world behind and spend 7 nights on the road. We went the first week in September, and the weather was perfect. 

Rocky Mountain National Park

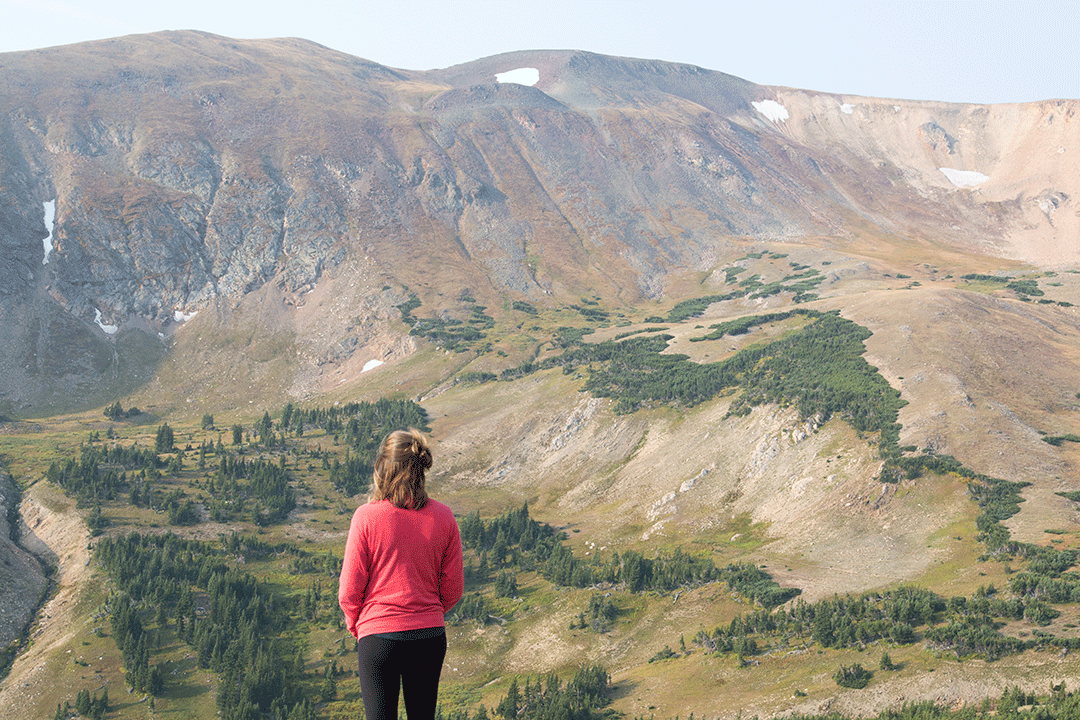
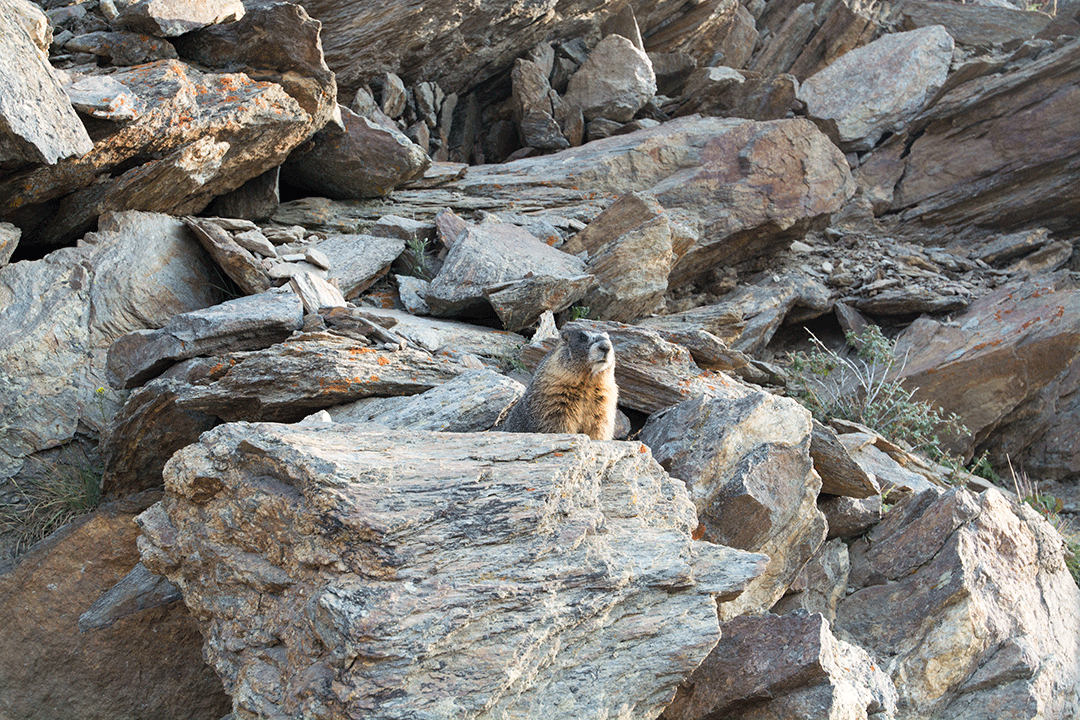
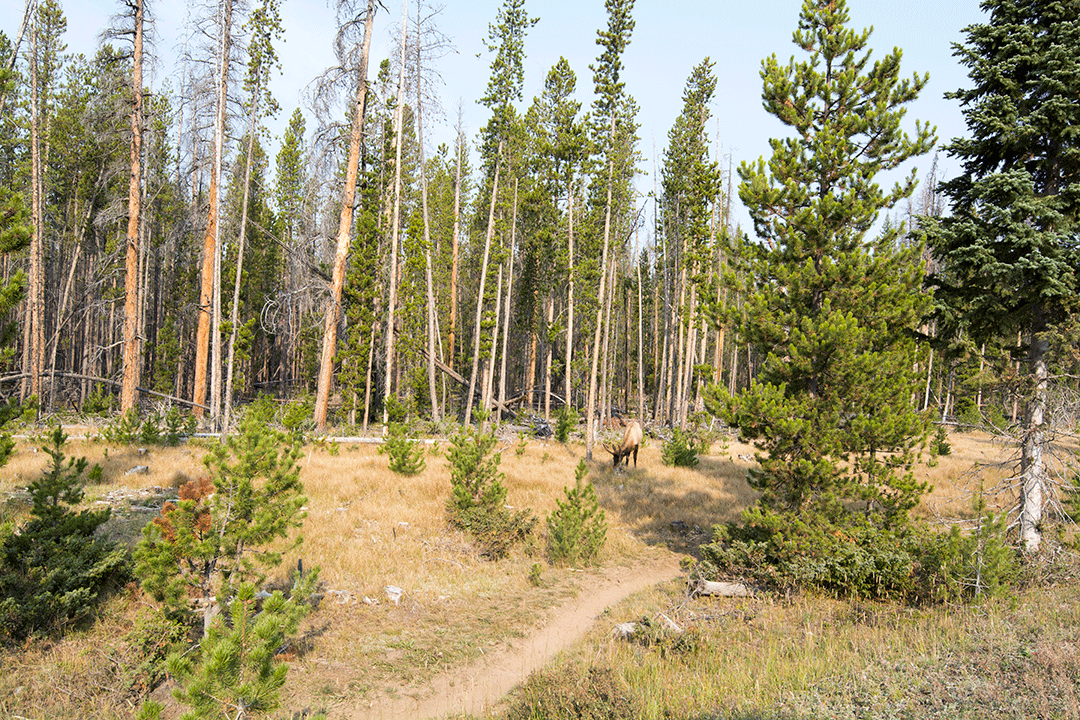
This was so lovely. We took the 11 mile precarious dirt ride up the side of the mountain all the way to the top, and stopped a few places along with way to hike. We saw elk, marmots, a fox, and even a young bear! YES a bear! 

I took a solo hike on one of the trails, and it was really life-giving. The air was crisp, and the stream was cold, and the atmosphere was teaming with that thing you only find out alone in nature. That thing I'm not sure quite how to describe...

IMG_5984.JPG

How we got there:
Flew into Denver Colorado. Drove to Estes Park and spent the night. Got up early in the morning for Rocky Mountain National Park.

Arches National Park

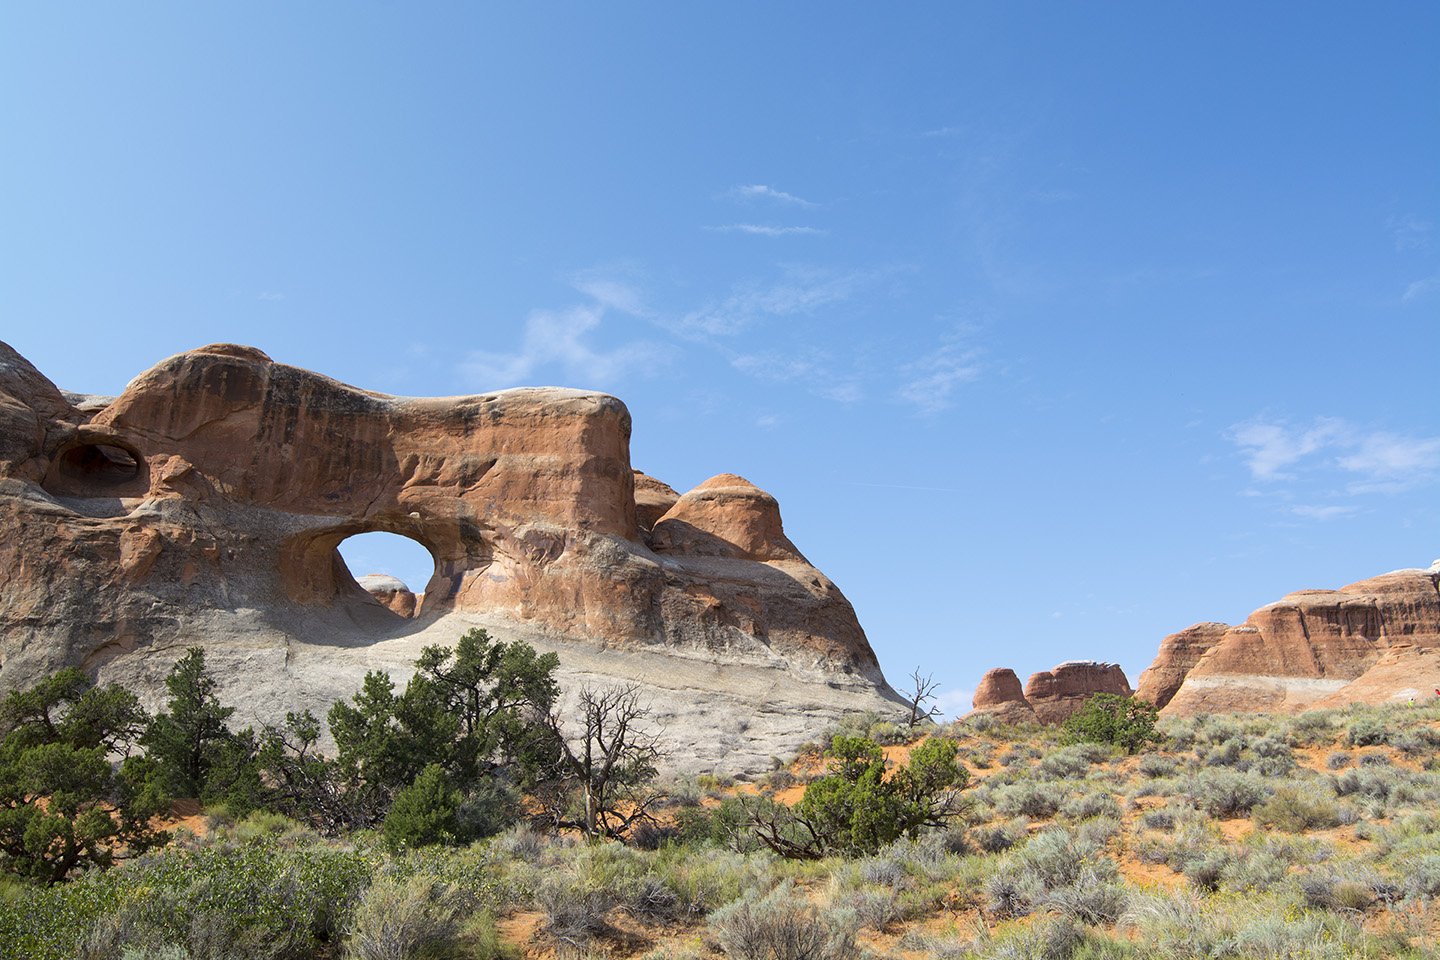
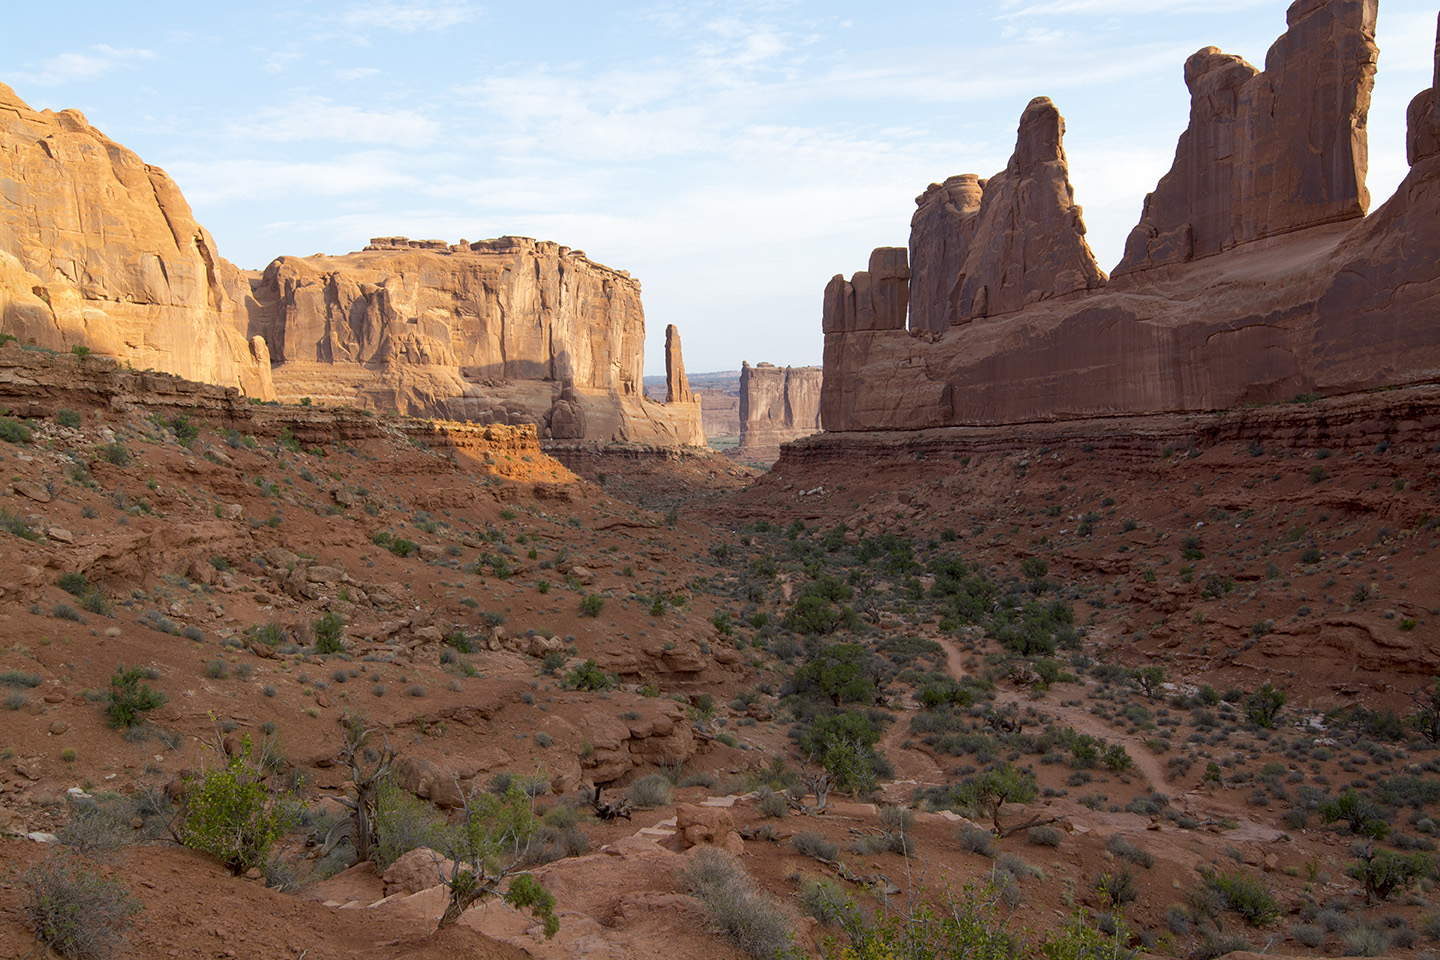
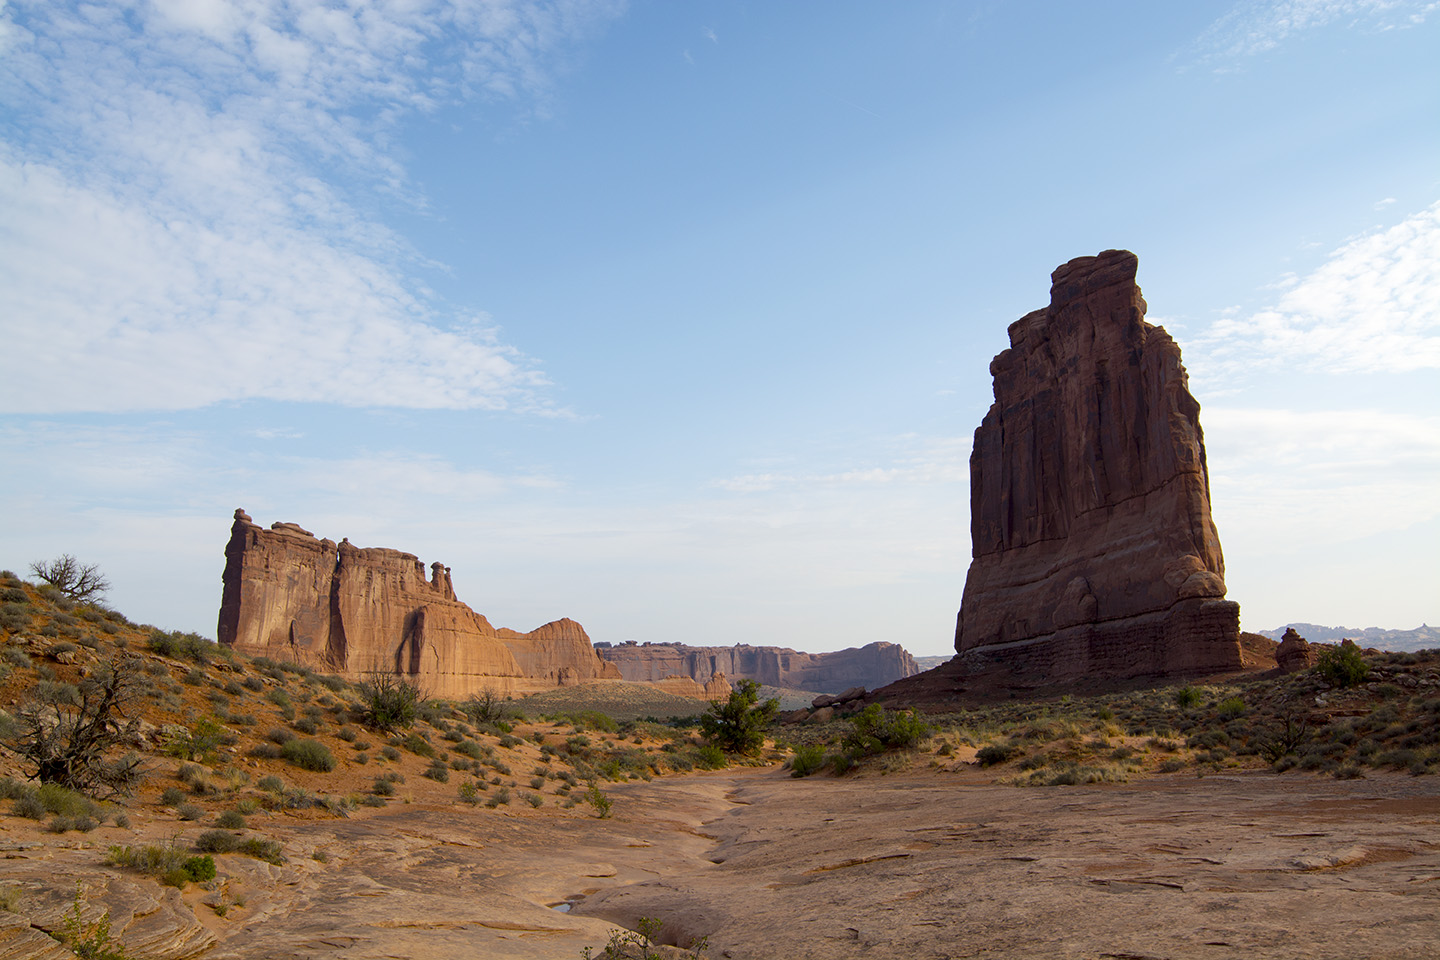
Arches was great! I mean look at that picture! Beautiful! Also hot! There's so many arches to walk out and see, and each walk is a good hike in the relentless heat. So make sure you come prepared with water and some steal resolve to get to your arch. Also know your limits out there! 

One really nice hike that does provide some shade is Park Avenue, shown below if you scroll right. It's about a 30 minute walk

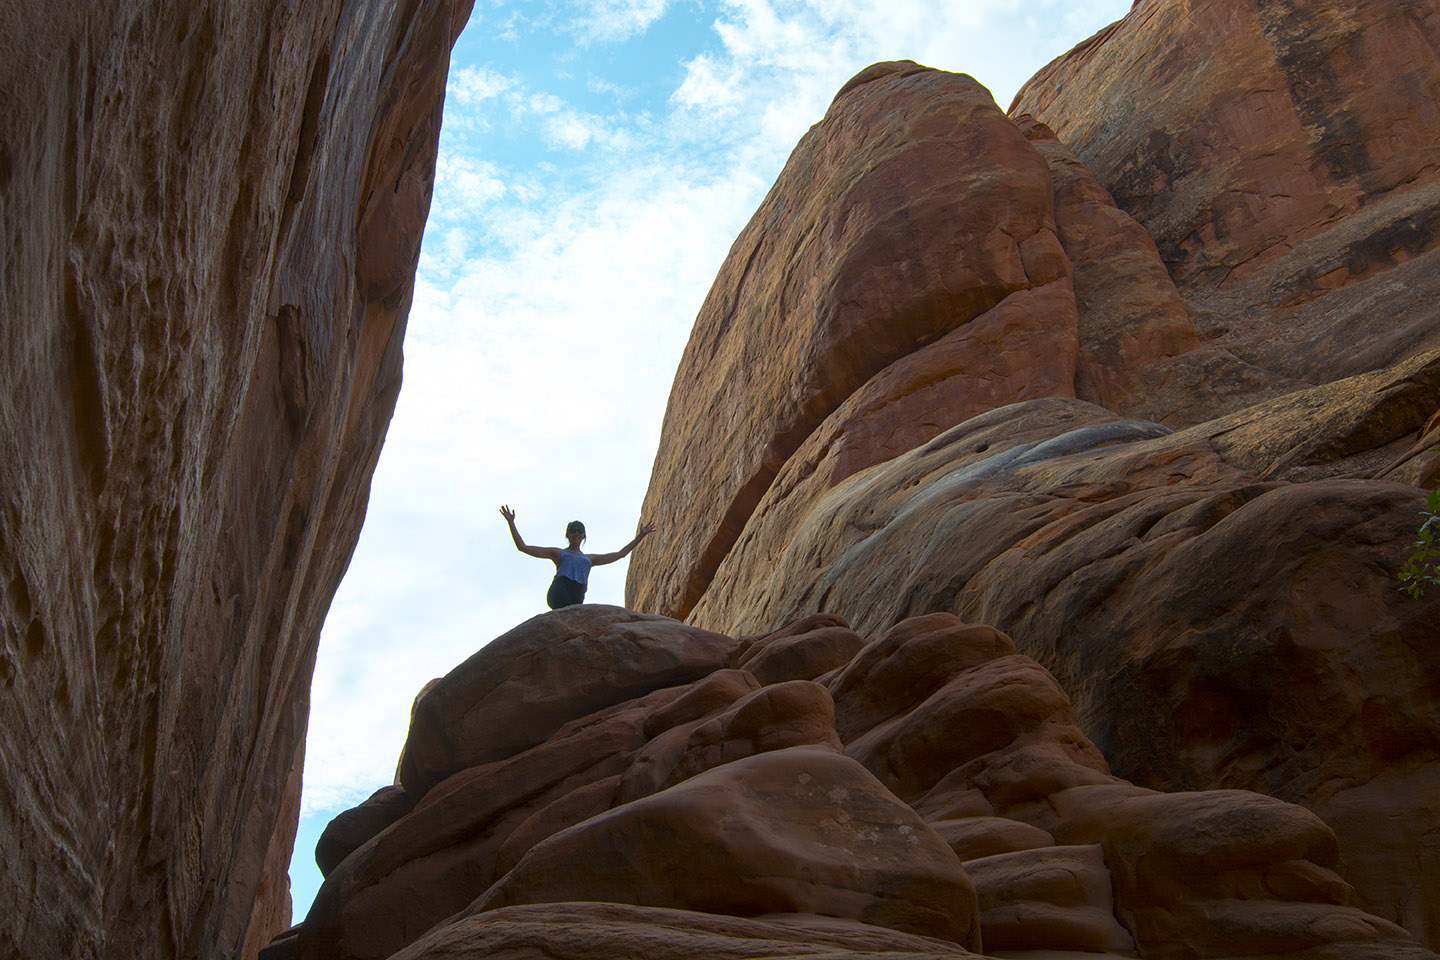
Because my dad didn't want to hike too far in the heat, we were choosy about which arches to go see. My favorite one was Sand Dune Arch. It was my favorite because it was in a narrow, shady, cool canyon, with really soft red sand. It was just a nice atmosphere. There were also some really fun rocks to climb back there, shown above if you scroll right.

Arches_3.jpg

How we got there:
After Rocky Mountain National Park, we drove to Moab, UT to spend the night. Then we drove to Arches the next morning! P.S. The entrance to Arches is spectacular! 

Grand Canyon National Park

So the Grand Canyon was actually my least favorite part of the trip. But that's probably because we didn't do any hiking? We just went to the South Rim to a few of the overlooks. So once the initial shock of "holy shit this is huge and looks like a painting and am I actually on The Truman Show" wears off...it's time to move on. Honestly, the thing was just so big it didn't even look real. 

If I went again, the right move would be to go on some hikes down into the canyon. I think I could have appreciated it a lot more from that perspective. Standing on the overlook with a bunch of other people, vying for space really took away a lot of the majesty and romance of the place. 

My real next move is to river raft down the entire Colorado River! 

grandcanyon.jpg

How we got there:
After Arches, we drove to Flagstaff, AZ. The next morning, we went to the Grand Canyon! While we were in Flagstaff, we ate at The McMillan Bar & Kitchen which was v good. 

Horseshoe Bend

Horseshoe Bend was really scary! First of all, it seems like it's "right off the road." But it's actually a good 20-30 minute walk with absolutely no shade. So take water. Back to it being scary....there is no guard rail, and there's sand, and rippled rock all the way to the edge, so you really need to be careful. Vertigo could be a real issue here, and it's about a 200 ft drop. 

There were also a lot of people getting dangerously close to the edge to snap the "perfect picture" which really had me on edge [ಠ_ಠ]. We basically walked down, snapped a few pics, and headed right back! I wouldn't recommend this if you have young children. But as you can see, it really is very beautiful, and totally worth a stop.

How we got there:
We drove from the Grand Canyon to Page, AZ. This is on the way there, on Hwy 89, just before you get to Page. 

Lake Powell

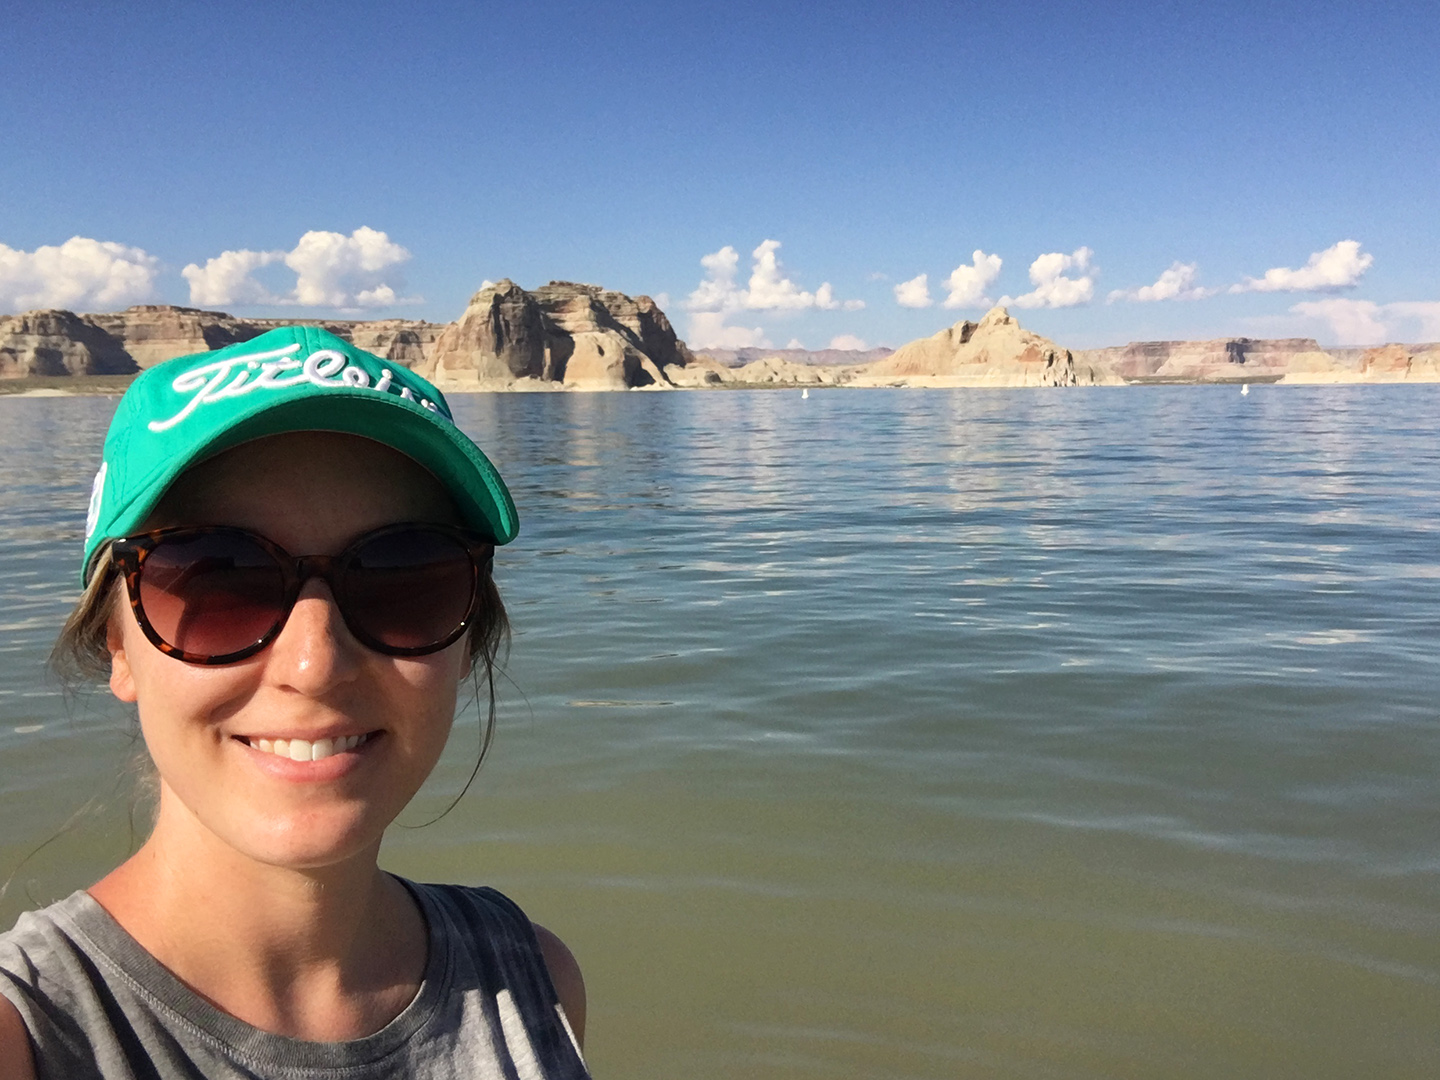
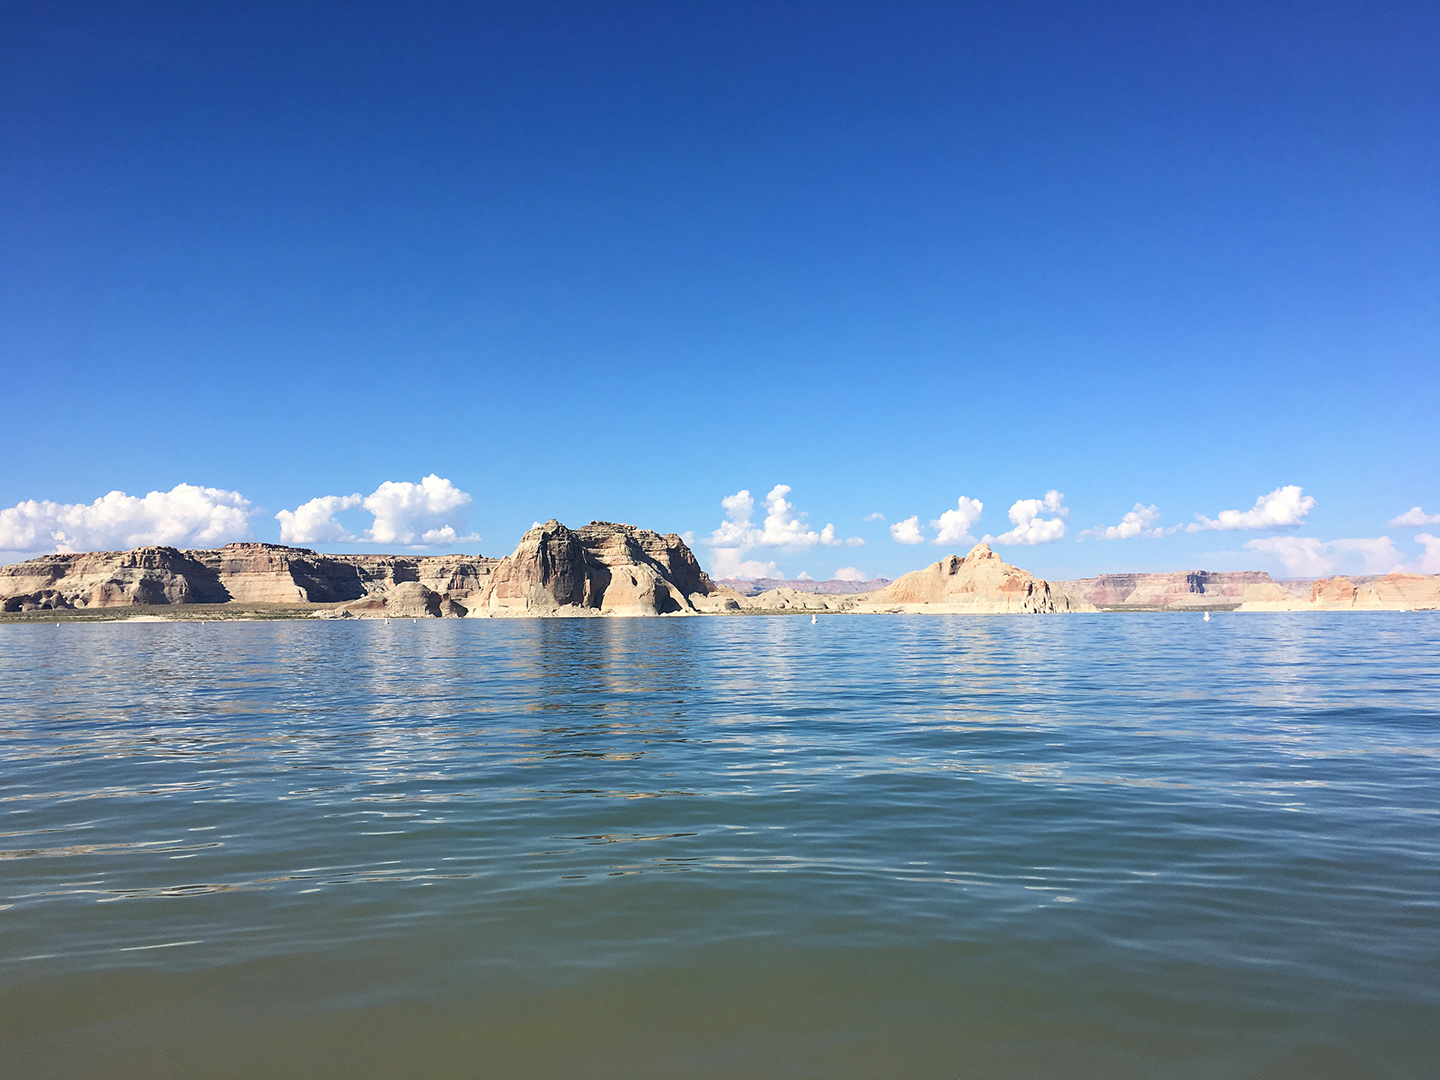
Lake Powell was quite lovely. The blue water butting up against the red dirt was really stunning, and unlike any landscape I've seen before. The water temperature was perfect and there were several people swimming. I would have gone swimming, but our trip here was impromptu and I was not prepared. 

You can rent boats here which seemed like a fun option for an afternoon activity. I also saw a jackrabbit when we were hiking around!

The Slot Canyons – Owl, Rattlesnake, Antelope

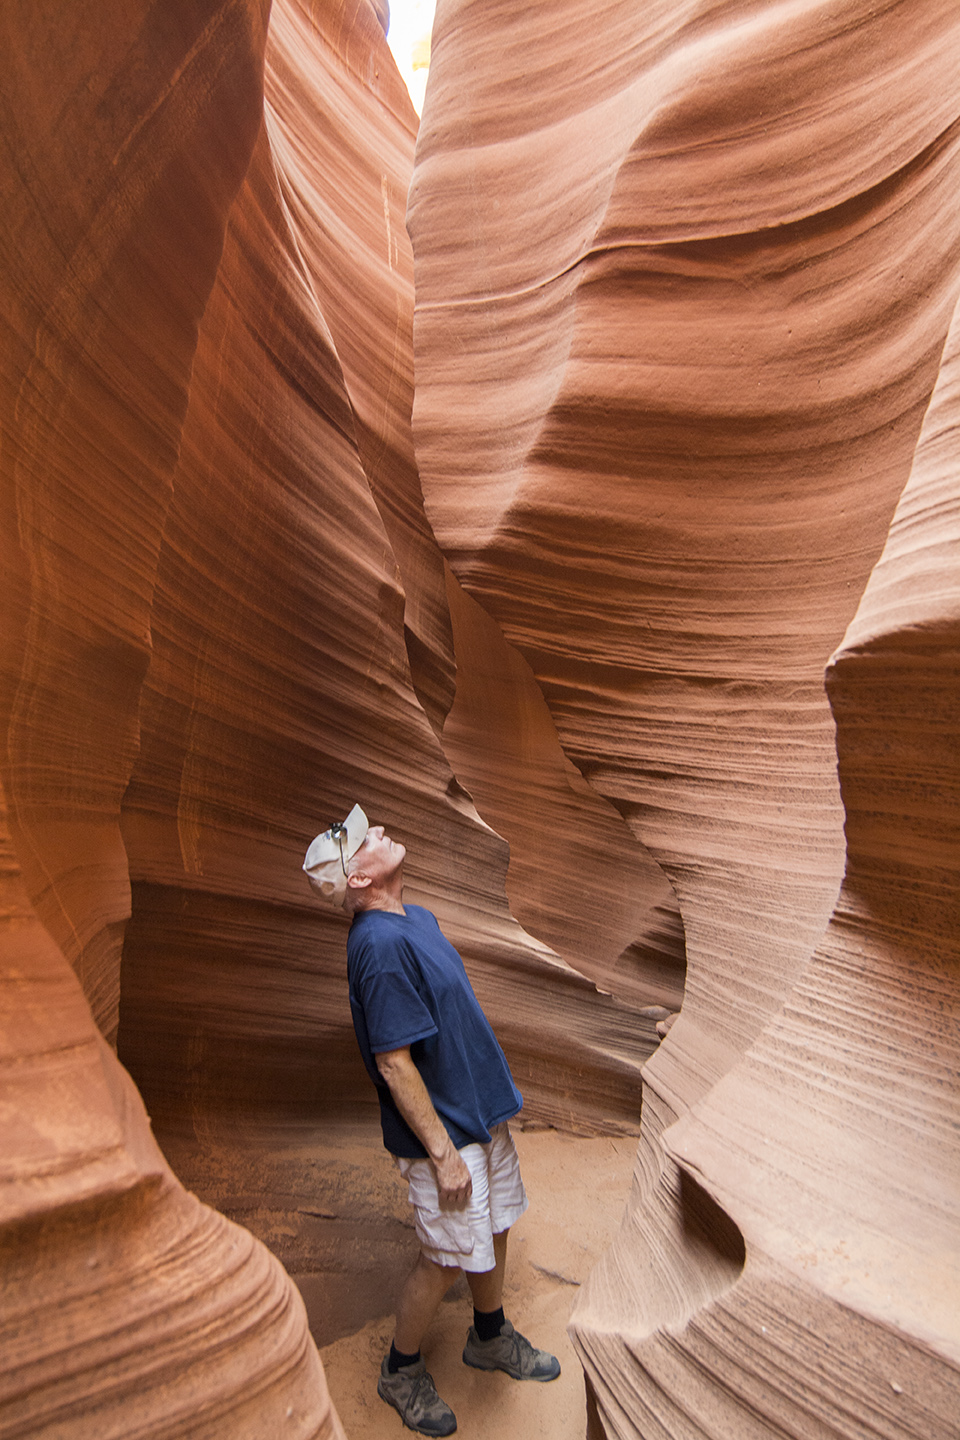
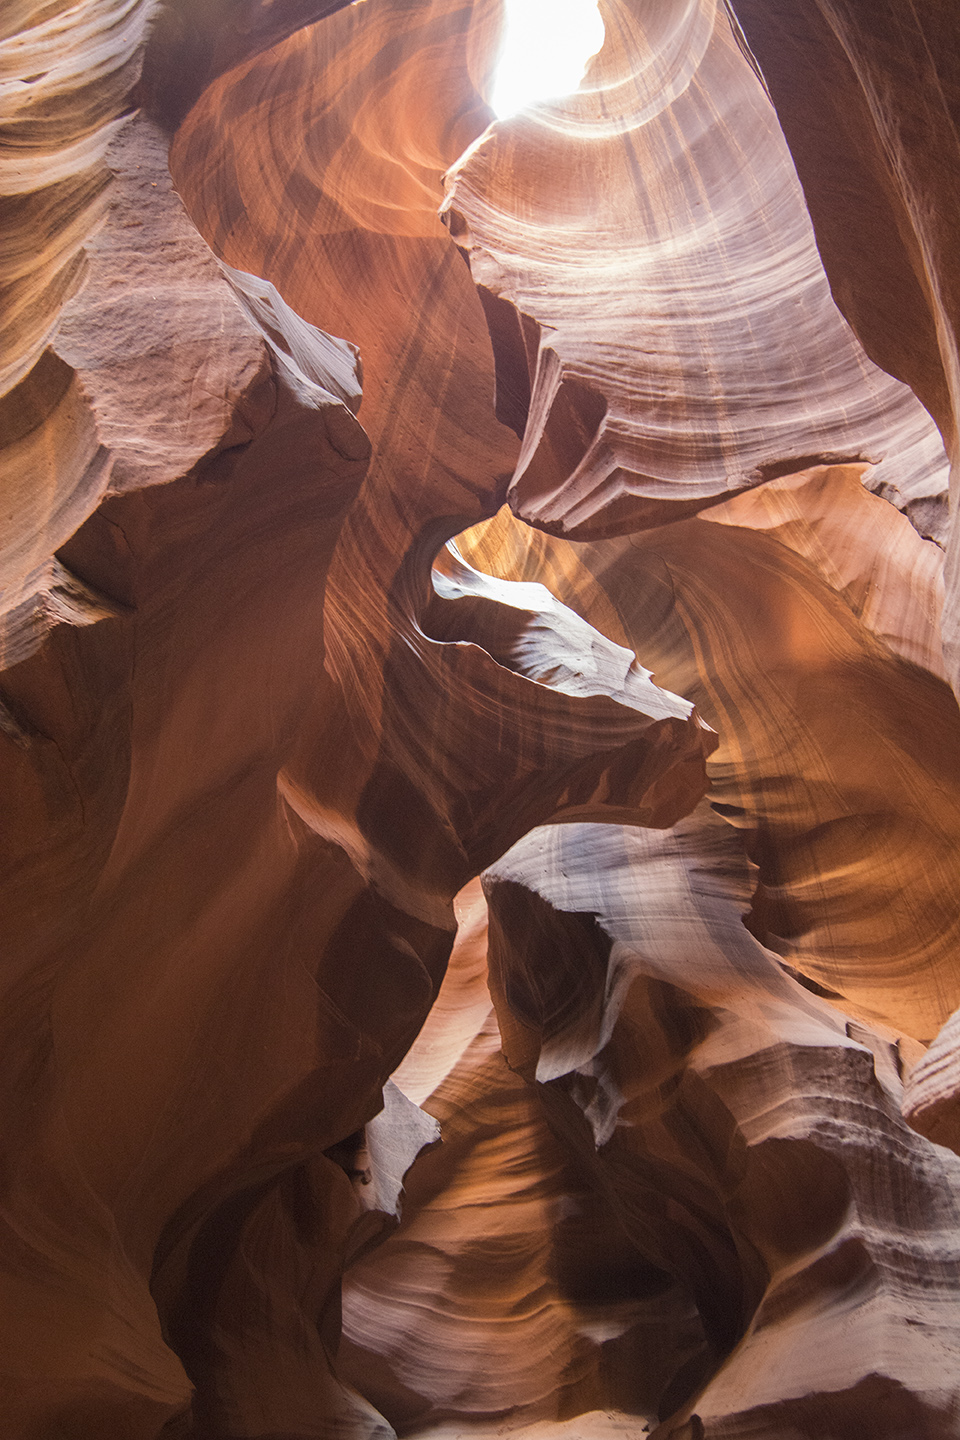
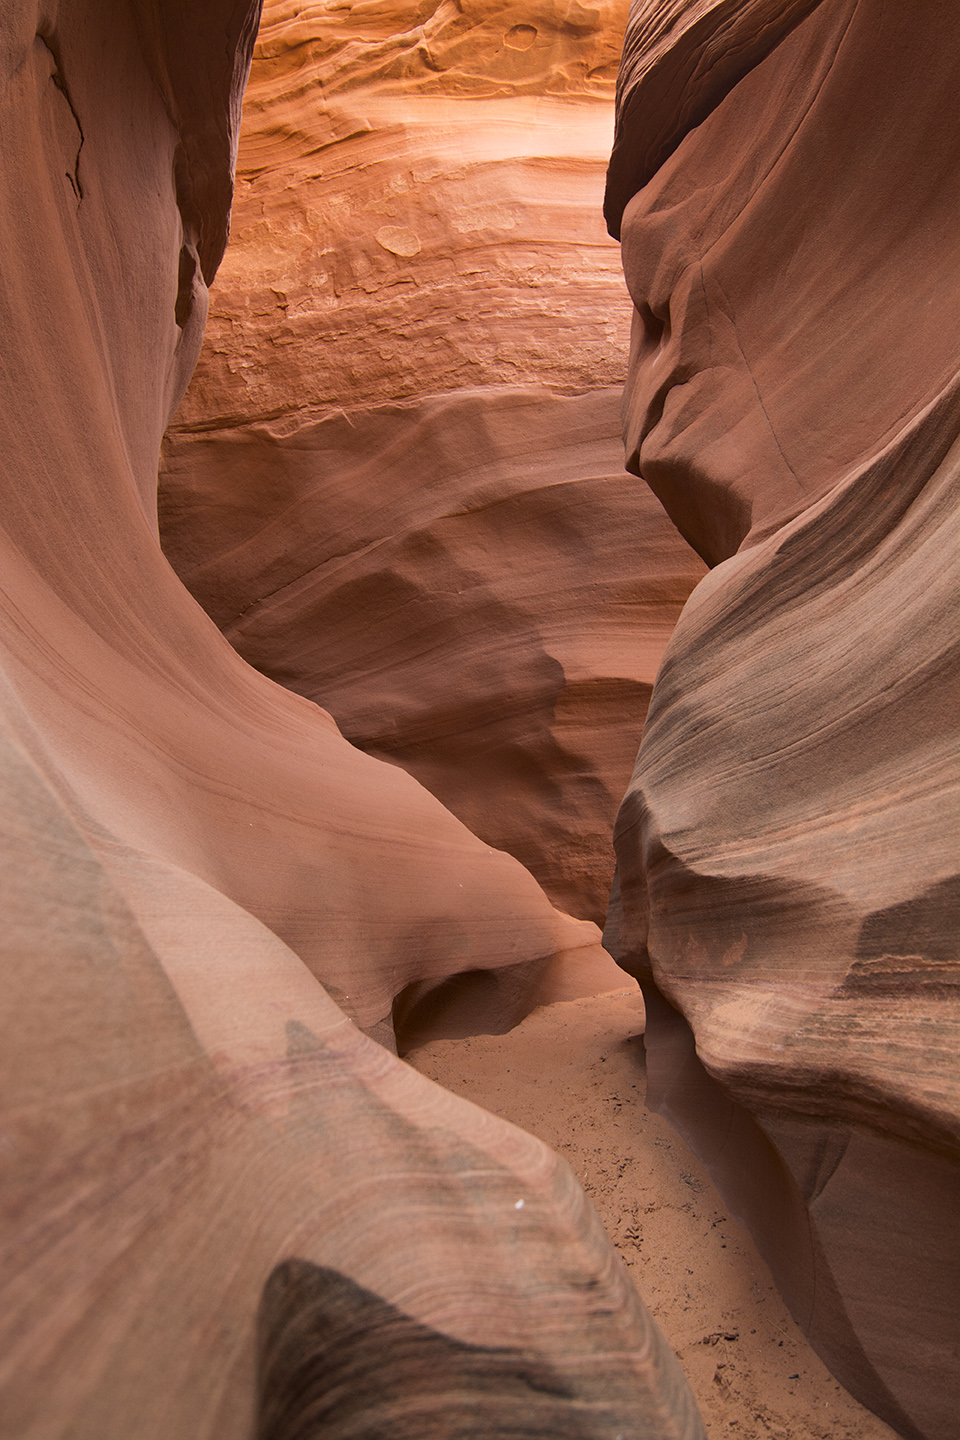
Here it is! You've all seen these in your favorite Nat Geo, as computer screen savers, and maybe in "127 hours"...slot canyons! Let me first say, these are obviously ridiculously stunning and majestic and almost otherworldly. But, you do have to see these on a guided tour. And a lot of these tours are "photo tours" which means your tour guide tells you where to stand, and when to stop, and what setting to put your iPhone on. It was just a little different than I expected...

IMG_6126.JPG

The canyons we went through were Owl, Rattlesnake, and Antelope. Owl and Rattlesnake were the most fun because we were in our small group of 9. And Rattlesnake was pretty cool because it snakes around [get it?] and you get to climb through small slits and up ladders and the like. 

Antelope is probably the one you recognize most, with the light shaft coming through it. That canyon was the most crowded, with hundreds of people filing in and out. It felt more like a museum than being out in nature. In fact, if you pan down about a foot in that image on the left, you'd see around 50 people just there. So again, very beautiful, but lots and lots of people and shuffling and photo taking. Less romantic than it seems, but surely worth seeing in real life. 

How we got there:
This is right outside of Page, AZ, and is Navajo* owned land which is why you have to take a tour. We used Antelope Canyon Photo Tours

*Our tour guide told us a sobering fact. The Navajo isn't even the term they call themselves. They call themselves Dene, which means "people" in their language. Actually navajo means "thieves," and was a name given to them by the Spanish. 

Zion National Park

Zion was way too cool! So it deserved a post entirely to itself! Hiking The Narrows was definitely one of the best things I've ever done. I think canyoneering might be my new thing??? (see also: canyoneering in Guatemala

IMG_6218.JPG

How we got there:
After our day in the slot canyons, we drove to Hurricane, Utah. In the morning, we got up early and drove to Zion. However, I would actually recommend staying in Springdale, UT. It was much closer and really cute. 

Vegetable Quiche

I've slowly been renovating my diet over the last few months, replacing one meal at a time with something healthy, organic, unprocessed, and/or low in sugar. I also make and plan almost all meals at the beginning of the week to eliminate the emergency Hardee's trips due to unpreparedness. (that $5 big bag tho!) 

This also keeps my grocery bill to $20-$30 per week. (yes, cooking for one #foreveralone #mycatsfoodbillishigher)


This week, for example, I'll have:
Breakfast: organic cereal and unsweetened almond milk
10am snack: tea
Lunch: grilled chickens and black beans
2pm snack: Chobani flip (this is the one thing I haven't replaced yet because I love it and it's my treat)
4pm snack: hummus and carrots
Dinner: vegetable quiche (our featured recipe) 

I can't say I've noticed many changes in my body. I haven't lost weight and I mostly feel the same. But hopefully eating mindfully will help me live long, prosper, avoid the doctor, etc. and such as. 

It's also nice to have more control over my diet, and theoretically, my willpower (although that's not always the case). Even though tbh I'm trying to relinquish control in ALL other areas of my life so maybe I should just eat whatever the F I want too! 

Anyways, the quiche...the reason we are here...is really delicious, and it's only about 200 calories per slice or 1/8 of the pie. You can put in whatever vegetables you like, but the radishes look good, right?! Enjoy! 

Ingredients:

Pie crust
6 Eggs
1/4-1/2 cup unsweetened almond milk
Broccoli
Cauliflower
Radishes
Salt + pepper
Parmesan cheese (optional)
2 slices peppered bacon (optional)

Directions

1.  Preheat oven to 400 F.
2. Unroll the pre-made pie crust into your pie pan. Bake for 5-7 minutes. 
3. While the crust is baking, lightly whip your eggs with the almond milk. Generously season with salt and pepper. 
4. Chop your desired veggies and add to egg mixture. 
5. Julienne the radishes. 
6. Fill the partially baked crust with your egg mixture, and top with the sliced radishes. 
7. Bake for 30-40 minutes. Check periodically because you may need to cover the crust edges with foil near the end. 
8. Fry up the bacon while quiche is cooking. Then, chop into small pieces. 
9. Top fully baked quiche with parmesan cheese and pieces of bacon. 

Nutella & Cookie Dough Ice Cream Bars

I made my first recipe video ever. It's definitely not perfect, but it was a fun experiment. Either way, these ice cream bars are SO good...too good honestly. Everyone loves Nutty Bars, and their heads basically explode when they have them in this ice cream bar combo. Nutty bars, nutella, cookie dough, ice cream, omg.

Ingredients

  • 1 Package Nutty Bars
  • Nutella 
  • Any flavor ice cream, softened
  • Cookie dough, room temperature

Directions

  1. Line an 8x8 inch baking dish with saran wrap. (seriously, don't skip this step)
  2. Halve the nutty bars and line them in the dish.
  3. Spread nutella all over this layer.
  4. Spread room temperature cookie dough all over the nutella.
  5. Spread softened ice cream all over the cookie dough.
  6. Top with remaining nutty bar halves.
  7. Freeze overnight. Then use the saran wrap to help you remove from dish. Cut and serve! 

Guatemala & Belize in 15 Days

Time: 15 days
Cost including flights: $1300* (flights were $375, flew into Guatemala City and out of Belize City)
*We could have cut cost easily, but we chose to "splurge" a bit on our vacation. Things in Guatemala are inexpensive. For one person, we generally spent $10-$15 per night for accommodation, $15 per day on food, and then when you factor in transportation and activities, it will add up to the full amount.

Screen Shot 2016-05-30 at 6.24.47 PM.png

Day 1 – Antigua
You'll probably fly into Guatemala City. Guatemala City is not safe, especially if you don't know someone there. When you leave the airport, there will be a handful of buses transporting everyone to the most popular destinations. Grab one to Antigua. 

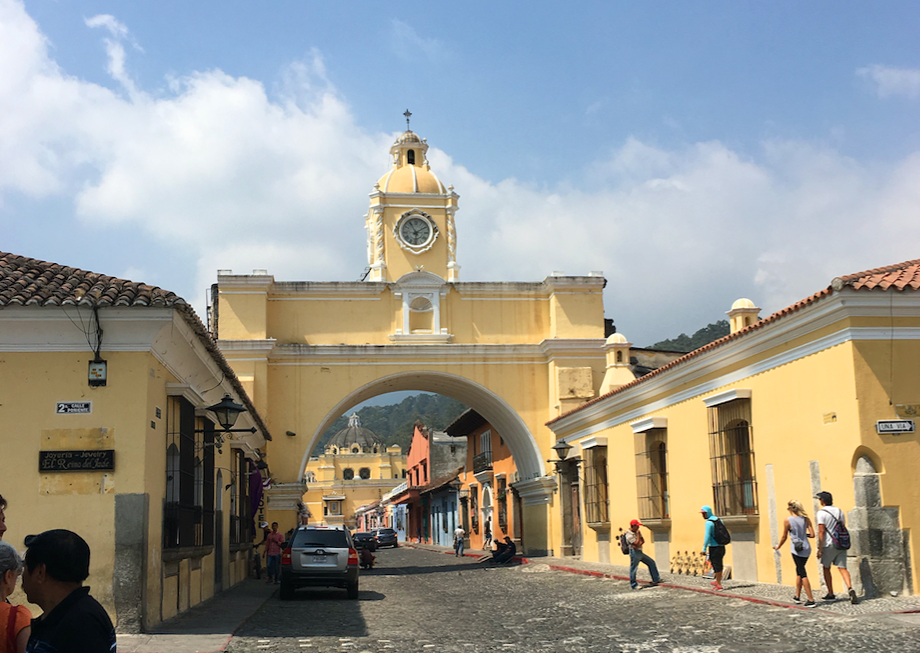
Antigua is a classic, Spanish-style, cobblestone town, lots of people rave about it. I prefer the more outdoorsy part of travel, so this city wasn't my favorite part of the trip, but it's definitely worth at least a day. If you want to stay longer, check out the volcano El Fuego! For just the day, walk around and explore the city, check out the chicken buses, and set up your ride out of town for the next day. 

Ate at: Ta'cool ★★★☆
Stayed at: Villa Estela ★★★☆

Day 2-4 — Lake Atitlan
I made a few mistakes when booking our time at Lake Atitlan. Luckily, I made them, so you don't have to. First thing to note, this lake is gigantic....when reading the guidebooks, I thought it would be easy to boat or walk to all the towns around the lake. I was very wrong. You really can't walk from town to town easily. And even in the places you can, it comes with a warning...AKA bring a group and hike during the day. You can boat from town to town but its about 10-15Q each time, and boats only run until 5pm. So wherever you stay, plan to be there for the night. 

We stayed at La Iguana Perdida in Santa Cruz for the first two nights. The place itself was beautiful, with delicious food, and a nice communal area to hang out that includes a pool table. However, beware, the staff is clicky, and not that pleasant. But the real problem is this place isn't easily accessible and the town itself, Santa Cruz, doesn't offer much. There is a town square at the top of the very steep hill, with some delicious, albeit dirty-looking, pizza stands. We watched some kids play soccer there one night. There's also a cooking school there called CECAP that has wonderful food and smoothies. 

I would actually recommend staying in San Pedro, which is where we stayed on our third night. We randomly found Hotel El Gran Sueño and it was perfect! Highly recommended. This town is more of what I expected with bars and restaurants and travel agencies. Book your bus out of here the day before you are ready to leave. We took a 5am shuttle to Lanquin. 

You should: rent kayaks! It was only 7Q per hour. And from San Pedro, if you take the kayaks right, you'll come across a flooded building. You can kayak into the building and climb to the second story.  
Be careful: This is a tourist hotspot and people will take advantage of tired travelers trying to get where they are going. We got WAY over charged multiple times for boats because we didn't do our research. Boats to and from each town should only cost 10-15Q unless it's after hours. 

Screen Shot 2016-05-30 at 6.24.37 PM.png

Day 5 — Lanquin
Lanquin itself is a small, very rural town. The bus ride there from the lake (12 hours long) is mountainous, curvy, bumpy, but lovely. People come to Lanquin to see Semuc Champey. The bus from the lake will drop you off in a muddy area and then a picup (pick-up truck with metal hand rails in the back) will come pick you up and take you to your hostel). 

We stayed at El Retiro and had a lovely time. The grounds are beautiful, and they have a great bar with a wonderful menu. You most likely won't venture into town, so pick a hostel you want to stay at all night. You can also reach Semuc Champey, from Coban, but it's two hours away, while Lanquin is only 45 minutes so I would highly recommend Lanquin.  

Tips: Bring bug spray!!!! Also, there are no ATM's in Lanquin so come prepared. 
Stayed at: El Retiro Lodge ★★★

Day 6 — Semuc Champey
This was truly one of the best days of my life. It was unbelievely fun. We spelunked in bat caves, swung on massive rope swings, jumped off a 30 foot bridge, and swam in crystal clear terraced pools. We organized this trip with our hostel, El Retiro, for 185Q (about $24) round trip including transportation. You only had to buy your own lunch. 

Get the full story of this epic day here! If you go to Guatemala, DO NOT miss this! You can book your travel out of Lanquin at your hostel the night before.

Day 7 — Rio Dulce
Rio Dulce is a crazy town, tons of shops, busy streets, very over-stimulating. The town itself isn't that beautiful so I would recommend staying in a hostel along the river like the Hotel Kangaroo. Just know that these hostels only run boats into town until around 5pm so find a hostel that will be fun to stay at all night. 

Two common things to do from Rio Dulce are a day trip to Livingston, which I recommend skipping,  and a day trip to Finca El Paraiso and El Boquerón Canyon which I would highly recommend! Check out more on this here. As for Livingston, the guidebooks make it sound like this really cool mix of cultures, as its a place where the Garifuna people live, however it's hard to get a sense of that in the 2 hours that you are there during your day trip. Plus it was swelteringly hot. The boat ride to Livingston from Rio Dulce is kind of nice, but overall not worth it and you'll see enough of the river when you boat to your hostel. 

Stayed At: Hotel Kangaroo ★★★☆

Screen Shot 2016-06-14 at 3.19.50 PM.png

Day 8 — Finca el Paraiso + Boquerón Canyon
So after you spend a day on the river hanging at your hostel and maybe going to Livingston, on Day 8 you can visit the hot waterfall and the canyon, thorough details here. This was an amazing experience, especially the canyon. If you go to the canyon, and the guides tell you it's safe, go on your own and swim into the canyon!

You can fit these sites into one day and take a bus out of town to Flores in the afternoon. There are a couple of different choices, one thats comfortable and one that's not. =) We took the less comfortable option, which is fun to look back on now. I stood for the first hour while Gui squished onto the floor, no AC of course, and for the last few hours I Gui and I shared one seat. 

Our first American fast food of the trip, Burger King.

Our first American fast food of the trip, Burger King.

Day 9 — Flores
Leaving Rio Dulce Town around 2, you'll arrive in Flores between 6pm and 8pm depending on the bus. Have a plan or some patience once you get into Flores. Your bus driver will most likely be fast-talking, persuasive, with a "cheap" hostel with "views of the lake." He may even try to force you to sign up for your next day adventure right then and there. We were tired and made this mistake and ended up over paying a bit to get to Belize. Just have your wits about you, and be willing to say no, or I'll think about it. It's worth noting that if you do want to pay a bit more, you can get your whole ride from Flores to Caye Caulker packaged up nicely together including the boat road all the way to the island. Any travel agency can do this for you 1-2 days in advance.

Flores is a cool little town/island on a big lake. You can take boats to the other towns across the lake. I wanted to visit the Petencito Zoo on the other side of the lake. It has mixed reviews, however, so do your research. 

Flores is a cool place to hang out at and chill along the water at night; grab some ice cream and listen to music. It's one of the more touristy places we went and can be very hot inside the city where not much breeze gets in. It's nice, but the real reason to see Flores is so you can see Tikal....

Screen Shot 2016-06-14 at 3.19.33 PM.png

Day 10 — Tikal
We chose to do the Sunrise Tour. You can choose sunrise or sunset. That meant we got up at 3am, so we could get to the park while it was still pitch black, walk through the jungle hoping not to step on any spiders, and make it to the viewing spot just before the sunrise. They really have the schedule down to a science. 

Tikal was really beautiful, and has a most interesting history. Take advantage of the knowledge your guide has, as they don't have time to tell you everything, but usually love answering questions. 

You'll have a good bit of free time to walk around the park and explore the ruins. It can be exhausting walking up and down all the stairs and rocks so bring good snacks!

My favorite part of Tikal were the animals! We saw SO many spider monkeys, toucans (amazing), kudamundi (omg), and heard many howler monkeys. Listening to the forest wake up was really beautiful. 

What you'll pay: Tikal was the most expensive excursion we booked on the trip. I think it ended up coming out to about $50/person for everything. That includes transportation and park entry, but not lunch. You can make it through the day on snacks if you want to. 

Day 11–14 — Caye Caulker

Cake Caulker is an awesome way to end the trip, and it's very different than Guatemala! We spent our days swimming, napping, biking, exploring, and our nights drinking with new friends, petting the local dogs, and buying $3 Chinese food from Dragon Palace and having a date on a dock out under the stars.

The island is about 5 miles long, but was split in two by a hurricane and there's nothing on the North side of the island. So you can easily explore the whole place in a few days. Check out The Split for swimming and the Lazy Lizard for drinking. All places have happy hours!  

The motto here is "Go Slow" and you should do just that! 

Ate at: the Sports Bar. ★★★★★ I can't remember what it's called but it's the only sports bar on the island. It's really fun and so delicious. I had this amazing chocolate cake there. 
and: Bamboo Grill. ★★★★ This place had the best fried fish ever. Whatever they used for the crust was magical.

Night life: The Reggae Bar is pretty much the only place opened after 9pm. It's wild there but it's the place to be late night. 
You should: snorkel! ★★★★ There are a ton of dive spots around. They'll take you to the Great Barrier Reef and Sting Ray Alley where you will seen tons of sting rays and swim with the nurse sharks! 
and: canoe! ★★★★ Dirty McNasty's had free canoes, so one night we paddled out to the Split and watched the sunset in our canoe. It was so beautiful, and a special memory. 

Stayed at: Dirty McNasty's ★★★★☆ If you are looking for a party hostel, look no further. The accommodations aren't great, but they'll make sure you have a good time. Free rum punch at 7pm, ping pong table, pool table, cheap breakfast the next morning. We had an awesome time. 
and: Barefoot Beach Belize Resort ★★★★☆ This place has a completely different vibe. We stayed in our own little hut which had air conditioning! (the first time on the whole trip). It was definitely luxurious compared to everywhere we stayed and it came with bikes which is necessary because it was on the far end of the island. 

Day 15 — FREE DAY
This free day is "baked" into the itinerary so you can add it in wherever you'd like to stay an extra day. However, I kept this free day in case something went wrong; transportation isn't always perfectly reliable so you should remain a bit flexible if possible. Our trip ended up going perfectly as planned, so we got to use this extra day at the end of our trip in Belize! 

Holiday Gift Guide (for Your Girlfriend)

It can be hard to figure out what to get your girlfriend for the holidays, especially if you've waited until the last minute. PSA: Christmas is next week! I always like a good mix of practical vs. impractical gifts...though I lean heavily towards practical. So I've put together a gift guide for each. Pick 1 or 2 items from each guide depending on which way your girlfriend leans. 

For the impractical girlfriend. Although she doesn't need anything, you still have to get her something: 

1. Fujifilm Instax Mini – Purchase on Amazon, Urban Outfitters, Michaels and more. I wonder if Michael's will let you use their 40% off coupon? Either way, this is a fun gift for your girlfriend to preserve her memories. 

2. MeUndies – Matching underwear for both of you? How sweet! Check out their sweet Christmas pattern on their website

3. Jewelry – Find a unique piece of jewelry that you feel represents her. 

4. Semi-permanent Tattoos – These are awesome two week tattoos that would be fun for an occasion like a music festival or a party. 

5. Something for her homeSociety6 has thousands of patterns that you can apply to products like pillows, blankets, pictures, and more. 

For the practical girlfriend. Although she says she doesn't want anything, here are some fun and functional things she'll love:

1. Something functional – Get her something that simplifies her life. Is she carrying around an old wallet or purse stuffed with things you both know she doesn't want? Find something beautiful that will encourage her to lighten the load.

2. Something to do together – Whether it's a book to read together, or an activity you found on Groupon, practical girls love to collect experiences. 

3. A gift for someone else – Buy her a gift card to Kiva where she can distribute the money to someone in need. Or take her on a date to volunteer or do something meaningful. 

4. Her favorite snack – This reminds her you notice and love the little things about her. Splurge on a snack she wouldn't normally buy for herself. And if it's pancake mix? Might as well do breakfast in bed...

5. A Candle – What's nice about a candle? It gets used up. It has a function and then it's gone; a practical girl's dream gift. And hey, when this one is finished, it's also a cute bowl.