My New TV Stand

I did a fun redo this weekend with the help of many family members (Mom, Dew, Kyle, Aunt Paula, Uncle Steve –thank God for them). I don't think I would have finished it without their help. My dad must have held a spot light on me for an hour while I worked at night.  

1403547875.422495.IMG_0873.JPG

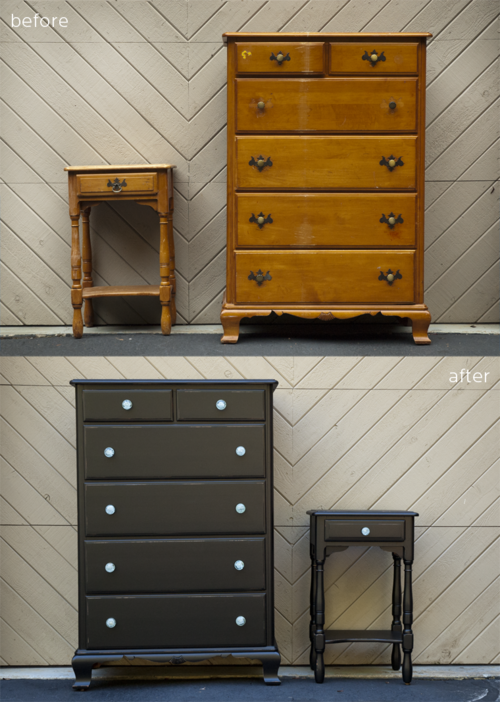
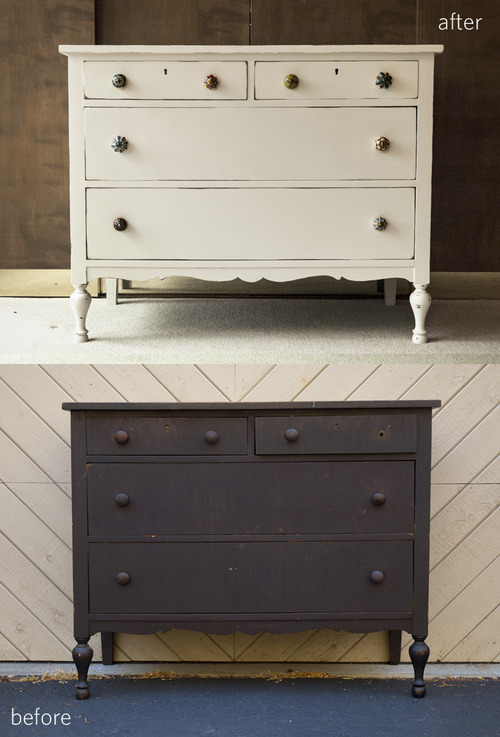
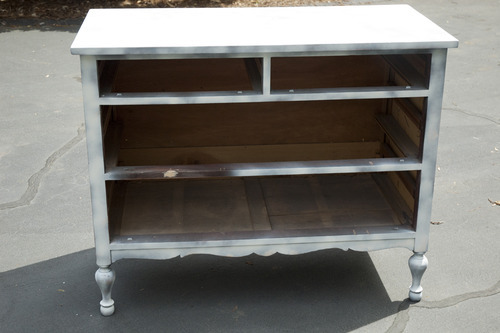
I got this piece for free, and it was in pretty miserable shape. I generally like to stay as far away from stripping paint as possible, but I knew it would have to be done to this guy. It already had 2 layers of paint and the surface was extremely uneven — not something a good old-fashioned sanding could get rid of.

I thought I'd outline some stripping tips for you guys (not that kind of stripping). First of all, only strip if you need to (this does apply to both kinds of stripping). It is tedious and can break the most patient of people. I always use Citristrip. It's low-odor and works very well. You put it on in a thin layer, but try not to stroke too much. It's not like painting — as much as possible just do one clean stroke. Cover all the paint and let is set for several hours. 

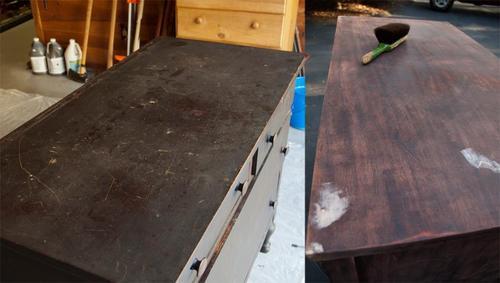
Eventually, the paint will begin to bubble up and you can do a test area. If you did it right, it should come off clean with a spatula. 

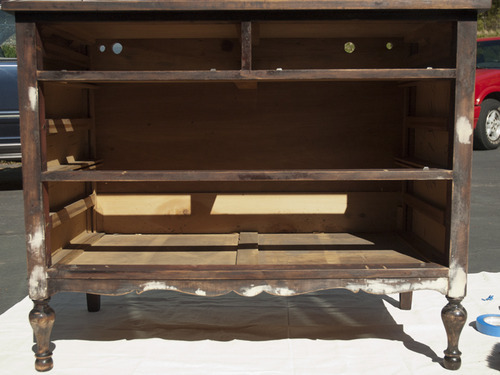
I had to do this process twice to get all the nooks and crannies. But afterwards, you'll see, it looks pretty darn clean. I considered leaving some of the wood showing actually, but it had some pretty nasty water stains on top, so I painted the whole thing.

1403548026.083609.IMG_0869.JPG

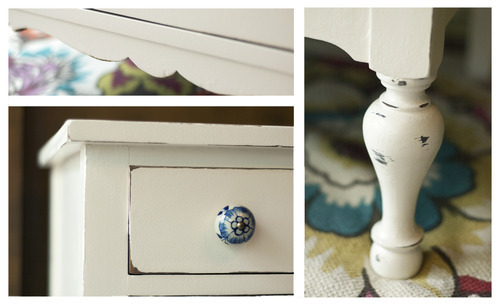
I used Annie Sloan's chalk paint (the best paint) in Provençe. And I only gave it one coat, because I liked how some of the wood still shows through. It came with this beautiful brass handles and plates, and I hadn't planned on doing anything to them. But then my Aunt Paula showed me that a little steel wool will do for old hardware! Who knew?!

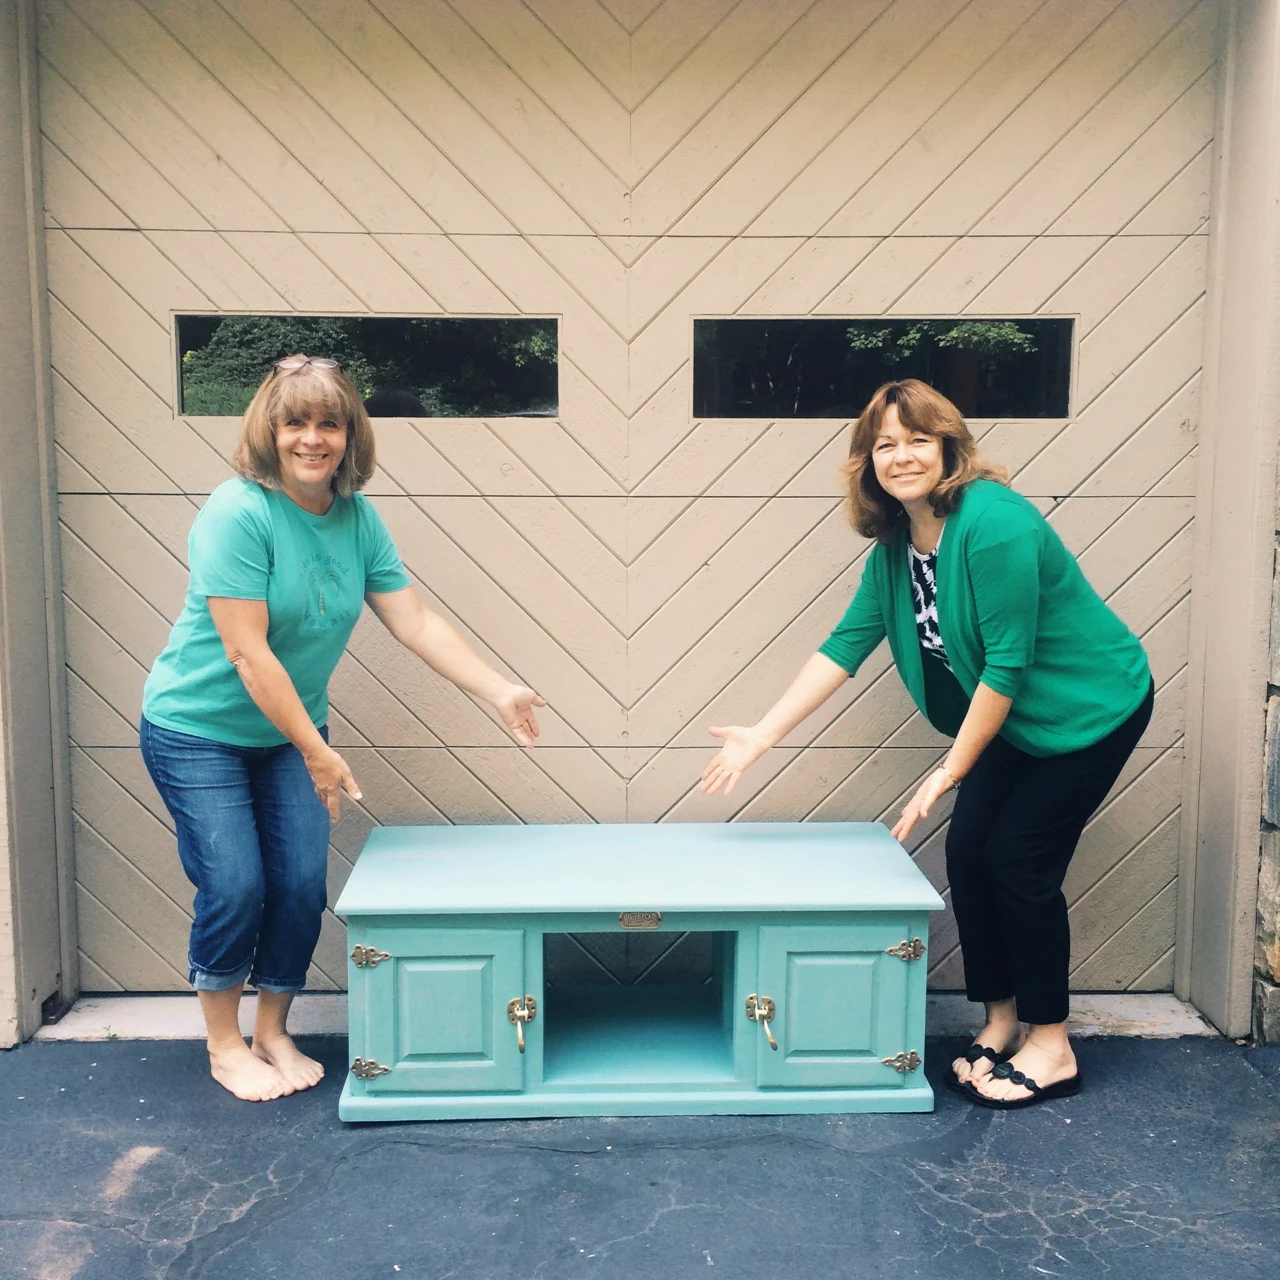
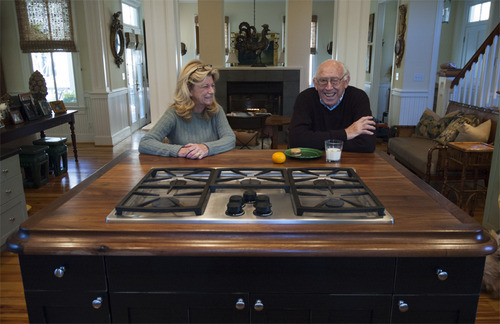
This took many hours of work, and like I mentioned, a lot of help from my family, but I really like how it turned out. And now, every time I look at it, I'll think of an awesome weekend well-spent. Here is my aunt and mom modeling the final product. 

1403547978.261946.IMG_0876.JPG

Emile

I’ve had this triangle idea in mind for a loooooong time, and when I got this table I knew it would be a great time to try it out. You know I love anything where I get to use painter’s tape. It’s so satisfying to take it off and have a clean edge. Needless to say this took quite a bit of painter’s tape.

image

I started out with the table top and it was actually a lot of trial in error. The paint I was using had very little pigment in it, so after 3 or 4 coats the wood grain was still showing through. My original intention was to entirely cover the table but when I couldn’t cover the wood grain, I decided to just go with it. I then used chalk paint in the color Emile (hence the name) to coat some triangles and the base of the table. I sanded it down and it has a lovely, buttery smooth feel. It’s for sale on the site now. 

image
image

Cortnac: Dresser & Nightstand

I took on a matching dresser and nightstand this weekend. I used black paint, gave it an antique finish, and topped it of with some cute knobs from World Market. I have to say, I was very happy with this transformation! They look good as new and have taken on a whole new character. Check out cortnac.com for more redos. 

image

Dresser Redo

Well, you think you know it all, and then you get a piece like this. The one that tries to break your resolve and make you question whether or not you can handle your chosen career path. Okay, maybe a little dramatic, but this did take hours and a very unexpected and unfortunate 8 coats of paint in some areas. In the end though, it was totally worth it, and I love the results.

image

I really love antiquing. It’s so much fun, and after meticulously applying perfect coats of paint, it’s fun to be a little more carefree and artistic. Even though the dark stain was a pain during the process, I love how it looks peaking through the cream. 

image

Read more to see my process.

image

1. Strip the paint. The most arduous and time-consuming process. Only do this if you absolutely must.

2. Give the whole thing a nice sanding with an orbital sander and dust it off. (I’m very proud to use my Grandpa’s old shop brush made of horse hair.)

image

3. Fix any structural damage. I only had to use wood filler on some surface issues. IMPORTANT: If you are antiquing afterwards you’ll want to remember where you filled the wood so you don’t sand back down to these spots. Document with photos and use them as reference when you are antiquing.

image

4. Prime. I use spray prime because I think it’s much easier and also because it seems to sand away more easily during the antiquing process. 

image

5. Paint! Let dry and secure knobs. 

Island Redo

I started a furniture upcycling business a few months ago, and just went to Charleston, SC to give this island a much needed refinishing. The kitchen was stunning (as you can see), but the green cabinetry was really taking over. We needed to make the island a focal point that would distract from and compliment the cabinetry simultaneously. I worked with a talented local artist Austin Smith. It was definitely a two-man job! 

image
image

We did an antique finish and were really pleased with the results! I’m currently taking customers so email cortnac[at]gmail.com if you need something spruced up. I do most of my work in NC but I can travel—just ask! Continue for more before and after photos. 

image

The happy customers using their new island:

image