Well, you think you know it all, and then you get a piece like this. The one that tries to break your resolve and make you question whether or not you can handle your chosen career path. Okay, maybe a little dramatic, but this did take hours and a very unexpected and unfortunate 8 coats of paint in some areas. In the end though, it was totally worth it, and I love the results.
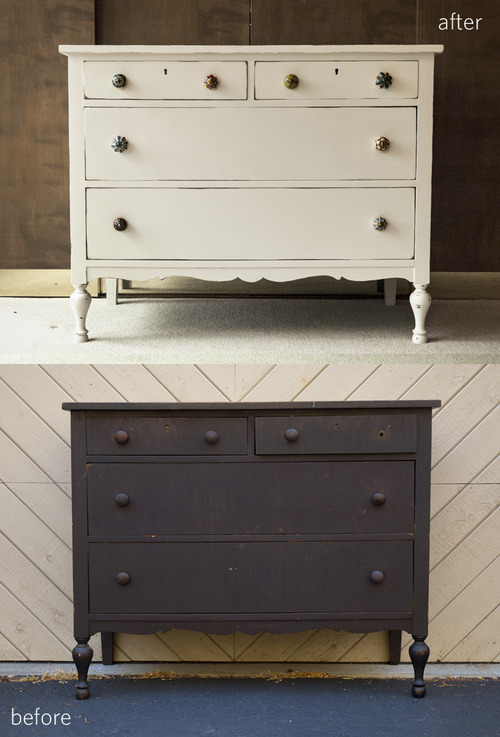
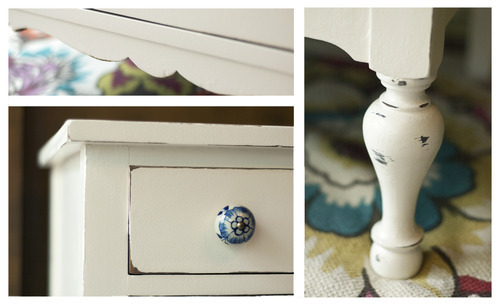
I really love antiquing. It’s so much fun, and after meticulously applying perfect coats of paint, it’s fun to be a little more carefree and artistic. Even though the dark stain was a pain during the process, I love how it looks peaking through the cream.
Read more to see my process.

1. Strip the paint. The most arduous and time-consuming process. Only do this if you absolutely must.
2. Give the whole thing a nice sanding with an orbital sander and dust it off. (I’m very proud to use my Grandpa’s old shop brush made of horse hair.)
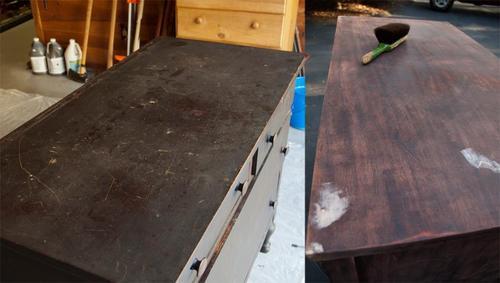
3. Fix any structural damage. I only had to use wood filler on some surface issues. IMPORTANT: If you are antiquing afterwards you’ll want to remember where you filled the wood so you don’t sand back down to these spots. Document with photos and use them as reference when you are antiquing.
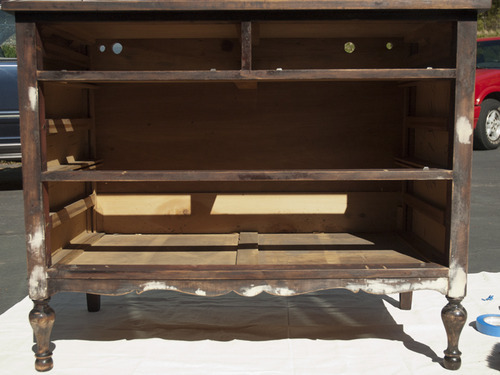
4. Prime. I use spray prime because I think it’s much easier and also because it seems to sand away more easily during the antiquing process.
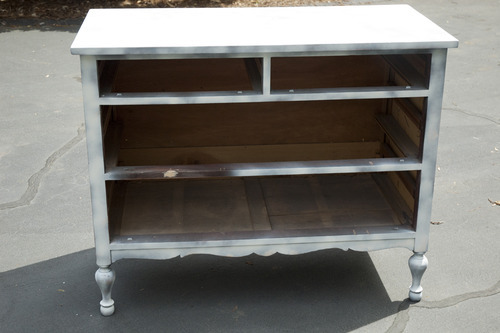
5. Paint! Let dry and secure knobs.